I accidentally deleted important files from my external hard drive and then emptied the Trash before realizing I still needed them. The drive has photos and work documents I can’t replace, and I’m trying to find out if external hard drive recovery is still possible after the Trash was emptied. I need help with the safest recovery options before I make things worse.
I’ve seen people call a drive “dead” when the files were still sitting there the whole time. Missing does not always mean gone. I learned this the bad way after nuking a folder of family photos and feeling my stomach drop for a solid hour. If you deleted pictures from an internal or external hard drive, hold off on the panic. In most cases, the data is still on the disk at first. What usually changes is the file system metadata. The pointers get removed, and the space gets marked as free for future writes.
So the first move matters more than any recovery app you pick. Stop using the drive right away. If it’s an external drive, eject it and unplug it. Don’t browse it, don’t copy stuff to it, don’t “check a few things.” If the deleted photos were on your main internal drive, the risk goes up fast. Your system keeps writing logs, cache, temp junk, updates, all sorts of background stuff. The longer it stays in use, the higher the odds your deleted files get overwritten. Best case, shut the machine down, pull the drive, and connect it to another computer as a secondary disk. Same rule for both internal and external drives, every extra write puts those deleted photo blocks at risk. Once new data lands on top of them, you’re done. Software won’t fix overwrite damage.
If the drive still spins normally, mounts like usual, and isn’t doing anything sketchy, recovery software is usually the first thing I’d try. No need to jump straight to a lab bill if this was a plain file deletion and the hardware still behaves.
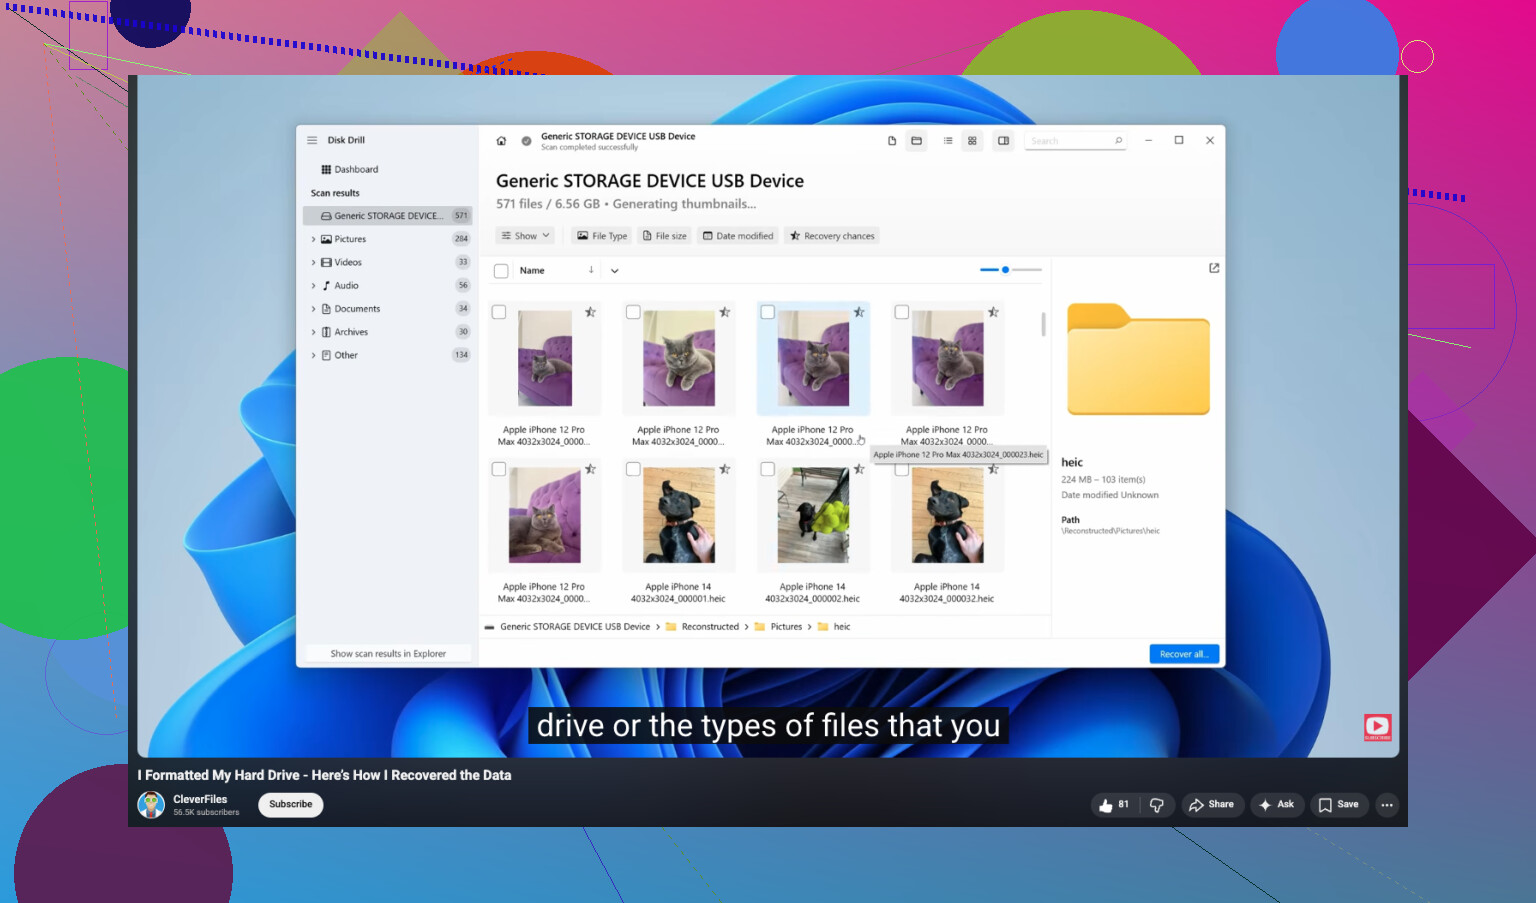
I’ve tried a pile of recovery tools over time on desktop drives and portable externals. Some were clunky. Some found junk and called it success. The one I kept coming back to was Disk Drill. For photo recovery, it tends to be the one I’d point people to first. The layout is easy enough to use without a manual, and its scan does a good job pulling up raw photo and video formats. You can install it, scan, and preview results for free. If the preview opens and the image looks normal, your file is usually intact.
- Install it somewhere else
Put the software on a different drive. Not the one where the photos were deleted. If you install onto the problem disk, you risk writing over the same space you’re trying to recover. Bad trade. - Make an image first
If you want the safer route, create a full byte-for-byte image of the drive before doing deep scans. Save that image onto a healthy disk. This gives you a frozen copy of the current state. - Run the scan on the image
I prefer this step when the drive matters. Scanning the image instead of the original drive removes stress from the hardware and avoids accidental writes to the source disk. - Recover files to another device
Let the scan finish. Filter for photos. Check previews. Then restore the files to a different location, another internal drive, an external SSD, a USB stick, whatever is separate from the source. Do not recover back onto the same drive.
There are cases where software is the wrong move, and this is where people waste time by pushing a failing drive too far. Stop the DIY route and go to a recovery lab if any of these apply.
- The drive is making strange noises
Clicking, beeping, grinding, scraping. Those sounds are bad news. I would not keep powering it on. - The drive doesn’t respond at all
No spin-up, no lights, nothing. This points more toward an electrical fault or other hardware failure. - The system doesn’t detect it anywhere
If it won’t appear in Disk Management or similar tools, even after swapping cables and ports, I’d start suspecting hardware, not a simple deletion issue. - The corruption is heavy enough that software can’t read the disk
At that point, home recovery attempts tend to stall out. A lab has better tools for ugly cases.
Recovery labs work with cleanroom setups and gear most people will never have on hand. It costs a lot, yeah, but if the photos matter and the drive is failing at the hardware level, a pro service is the safer bet.
I hope you get the files back. I know how lousy this feels. Once you recover them, set up backups before life gets busy and you forget. I did not do that soon enough the first time. Don’t repeat my dumb mistake.
3 Likes
Yes, if the drive is healthy and you stopped using it fast, your files still have a shot.
Emptying Trash does not erase the file data right away. It removes the file entry. Your risk is overwrite. Since this was an external drive, your odds are often better than with a system drive, becuase macOS or Windows keeps writing to the internal disk more often.
I agree with @mikeappsreviewer on one point. Stop using the drive. I disagree a bit on urgency theater around shutting everything down if the external disk is already unplugged. If it is disconnected, you already did the main thing right.
What I’d do:
- Do not save anything back to that external drive.
- Connect it read-only if your setup allows it.
- Scan it from another computer or from your main computer, but save recovered files somewhere else.
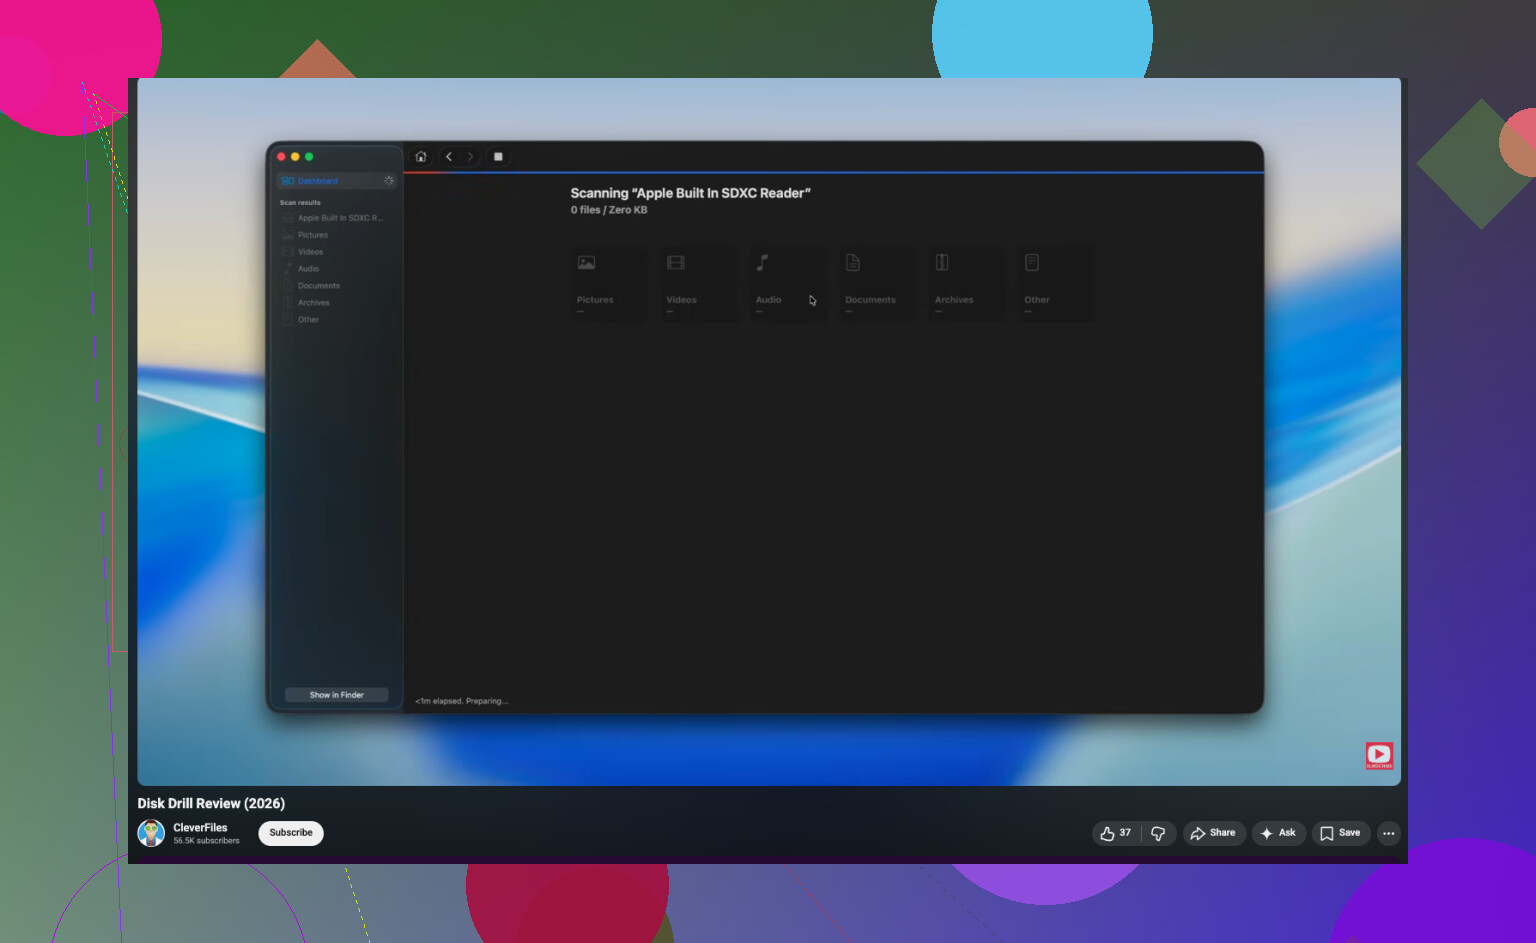
- Start with file-system scan, then deep scan if needed.
Disk Drill is a solid pick for this. It’s easy to preview photos, PDFs, DOCX files, and sort by deleted items. Preview matters. If a JPG opens cleanly, recovery odds are decent. On many drives, if recovery starts within hours or a day and no new writes hit the disk, success rates are often high for standard deletions.
One more thing people skip. Check hidden Trash folders on the external drive first. On macOS, external drives often use a .Trashes folder. If permissions got weird, files sometimes sit there instead of being fully purged from view. On Windows, look for $RECYCLE.BIN if the drive was used there too.
If the drive clicks, drops connection, or asks to format, stop trying stuff. Software won’t fix a failing device.
If you want a walkthrough, this video is useful for formatted drive cases too, some steps overlap with deleted-file recovery:
watch this hard drive data recovery guide on YouTube
Short version, yes, recovery is often possible. Your next few moves matter more then the app name.
Yes, you can still recover files from an external hard drive after emptying Trash, but I would not assume they’re gone forever just yet.
I mostly agree with @mikeappsreviewer and @jeff about stopping use of the drive, but I’ll push back on one thing people say a lot: emptying Trash is not some magical point of no return. It’s bad, sure, but on an external drive the situation is often more recoverable than folks think, especially if you haven’t copied anything new onto it since.
A few extra things to check before going full recovery-mode:
- Look at the drive’s available space. If it did not suddenly increase by the size of the deleted files, the data may still be sitting in a hidden trash structure or the deletion did not complete the way you think.
- Check from Terminal on macOS for hidden folders if you’re comfortable, not just Finder.
- If the files were synced with anything like iCloud Drive, OneDrive, Dropbox, Google Drive, or Time Machine, verify there first. People forget this allll the time.
- If these are office docs, check app-specific autosave or temp recovery locations too.
If software recovery is needed, Disk Drill is one of the better options because it handles external hard drive recovery, deleted photos, and document previews pretty well without being a total mess to use. That preview part matters more then people realize. If you can preview the file, your chances are usually decent.
Also, I would image the drive first if the data is truly irreplaceable. Not everybody does this, but it’s the safer play. Work off the copy, not the original, if possible.
And yeah, if the drive is clicking, disconnecting, or asking to be formatted, stop. That becomes a hardware problem, not a “which app should I try” problem.
If you want a decent explainer before poking at the disk, this Disk Drill review and data recovery walkthrough is worth a look.
You’ve still got a chance, but I’d add one thing the others only hinted at: find out what file system the external drive uses. That changes recovery odds more than people think.
- HFS+, exFAT, FAT32: usually decent chances after Trash is emptied.
- APFS or SSD with TRIM: less predictable. On some setups, deleted blocks can get wiped sooner.
- SMR hard drives: also weird sometimes, because background housekeeping can reshuffle data.
I agree with @jeff, @waldgeist, and @mikeappsreviewer on the big rule: don’t write anything to that drive. I slightly disagree with the “panic now” angle though. If the external is already unplugged and healthy, you do not need dramatic rituals. You need a careful plan.
My angle:
- Check whether the files exist in snapshots or backup history before recovery software.
- If no backup, clone the drive first if the data is truly critical.
- Then scan the clone, not the original, if possible.
Disk Drill is a reasonable option here.
Pros
- easy previews for photos and docs
- good for deleted-file scans on externals
- simpler than many recovery tools
Cons
- deep scans can return messy filename results
- not magic if data was overwritten
- license cost annoys some people
Other tools exist, but for a normal accidental deletion case, Disk Drill is one of the less painful ones to use. If the drive starts clicking, vanishing, or mounting read-only by itself, stop DIY and go pro.