I accidentally formatted an external drive with important work and personal files and now I’m stuck choosing between Disk Drill and Stellar Data Recovery. I’ve read mixed reviews on recovery success, speed, and pricing for both tools. For real-world use, which one actually recovers more data reliably, and are there any hidden limitations or issues I should know about before I buy?
Look, I went through this exact spiral of “which recovery tool do I pick” and burned days on it. Reviews, YouTube videos, random blog posts, shady download sites, the whole thing. If you are at that stage, I can at least tell you how I ended up deciding and what actually worked for me in real situations, not in some lab test.
I found Disk Drill because of this thread:
https://www.reddit.com/r/DataRecoveryHelp/comments/1qi1apk/disk_drill_review/
I was skeptical, tried it anyway, and kept it after a couple of bad weeks with broken drives.
My external drive meltdown
About a year back, one of my externals went sideways out of nowhere. Plugged it in, Windows pinged, then told me the file system was corrupted and kept offering to format it.
No folders.
No files.
Decades of photos, tax docs, client work, random video projects. Gone, as far as Windows was concerned.
I did the usual panic routine.
I tried several free tools, a couple of paid trials:
- Some scanned forever, then listed files but restored zero usable stuff.
- Some refused to deal with the corrupted file system.
- One of them recovered a pile of files with broken names and most of them were unreadable.
Disk Drill was maybe the fourth or fifth thing I tried. I went in grumpy. The first scan surprised me though.
It showed more data than I thought was on that drive. At first I thought the software was lying. Later I figured out it was combining multiple scan methods at once, so it was:
- Reading what it could from the damaged file system metadata.
- Running its own signature-based search across the raw space.
So I saw duplicates of some files. Once I understood what was happening, it made sense. There were two “paths” to the same data.
More important part: every single photo and document I cared about came back and opened fine.
The preview was what made me trust it. I could click a file inside the app, see the actual photo, open a PDF, scrub through a video, before hitting recover. After my earlier experiences of “recover 30 GB then find out it is all corrupted junk”, that preview feature mattered a lot.
What made me keep using it
That one save was nice, but it was the overall workflow that stuck with me. I have used it multiple times since, on different devices, for different screwups. The pattern stayed consistent.
Interface that does not assume you are an engineer
When you open Disk Drill, it shows all your connected devices like a basic disk list. Internal drives, external drives, USB sticks, SD cards.
You:
- pick the device,
- hit one big button,
- let it do its thing.
It decides which scan types to run, in which order. No “quick vs deep vs signature-only” decision screens.
While it runs, you watch the folder tree and file categories populate:
- Pictures
- Video
- Documents
- Audio
- Archives
- Other
Stuff starts showing up while the scan is in progress, so you do not need to wait until 100 percent to begin checking. I have recovered a few “I need this file right now” items before the scan was done, then let the full scan finish for the rest.
Navigation felt like a stripped-down file manager. No walls of checkboxes.
Devices and file systems I have hit it with
I do not have a lab at home. I have normal mess:
- Desktop with NTFS system drives.
- External HDDs and SSDs.
- A bunch of USB sticks in random file systems.
- SD and microSD cards from cameras, phones, and a drone.
What I used it on so far:
- Failing NTFS external drive.
- exFAT USB stick that someone pulled during write.
- Two SD cards from cameras.
- One microSD from a phone that turned into RAW in Windows.
Disk Drill handled all of those without me flipping advanced settings.
Under the hood, according to their docs and what the app says, it knows:
- FAT32
- exFAT
- NTFS
- HFS / HFS+
- APFS
- EXT2 / EXT3 / EXT4
- BTRFS
- ReFS
- Raw, unrecognized partitions
You plug something in, it appears, you run a scan. That part has been boring, which is what you want here.
Preview and “recovery chances” saved me time
One detail that shortens the whole process: every file in the result list has:
- A preview, if the format is supported.
- A “chance” label: high, average, low, unknown.
My pattern now:
- Filter by file type, for example photos or documents.
- Sort by file name or date.
- Check the chance label.
- Preview a handful of “high” ones from each folder to see if they open.
- Select only what I actually care about.
The point is you do not dump 500 GB onto another drive and hope for the best. You see what is likely to work, you can spot-check before writing anything out, and you skip obvious trash.
On one card, the “low” chance videos did not play or were partially broken. The “high” ones were all fine. So the labels matched reality for that case.
Free version that is not fake
The free Disk Drill build on Windows let me:
- Run full scans on any supported drive.
- Browse all found files.
- Preview them.
- Recover a limited amount of data.
The limit was enough to:
- Rescue a handful of important PDFs from a USB stick.
- Restore some photos from a card after a quick accidental delete.
If you are dealing with a giant multi-terabyte disaster, you will hit that cap. The difference is you get to see your whole result set first, with previews and chance labels. So you know if paying is worth it for your specific disaster.
This is important when you are not sure whether a drive is too far gone.
Camera and drone files, the part that surprised me
This part annoyed me for years before I even used Disk Drill.
Action cameras, drones, DSLRs, mirrorless cameras, they often:
- Fragment large video files into many separate blocks.
- Spread those blocks across the card without caring about order.
When an SD card is wiped or its file system corrupts, recovery software finds fragments of the videos. Many tools restore partial MP4s or MOVs that either:
- Do not open at all.
- Open but freeze after a few seconds.
Disk Drill has a specific scan mode for cameras and some drones, called Advanced Camera Recovery inside the app. What it seems to do is reconstruct those scattered chunks back into playable video.
My real test:
- DJI drone microSD.
- I deleted every clip during a cleanup.
- Then later realized I wiped four flights I wanted.
I pointed Disk Drill at the card, selected the camera recovery mode, and let it sit.
Result:
- It listed four large video files.
- All four previewed correctly.
- Exported them and watched them start to finish with no artifacts.
That was the point where I stopped treating it as “one more tool” and made it default for anything involving camera cards.
The dying USB stick and why the clone feature matters
At some point, I had a USB flash drive that acted sick:
- Took a long time to mount.
- Dropped off during copy.
- Windows started reporting I/O errors.
If you hammer a failing device with heavy read operations, you sometimes kill it faster. Many people run full scans directly on it anyway, then the drive dies halfway and they lose the rest.
Disk Drill has a byte-to-byte backup feature. Think of it as:
- You create a drive image file that is a sector-level copy of the device.
- You then do all recovery work on the image, not the physical device.
What I did:
- Plugged in the dying USB.
- Immediately ran the byte-to-byte backup, saved the image file on a healthy HDD.
- Removed the stick and never touched it again.
- Mounted the image inside Disk Drill and ran scans on that.
The newer build also shows a simple visual surface map, so you see green and red spots during imaging. It:
- Skips bad sectors on the first pass to pull as much as possible without stressing the slow parts.
- Then tries to re-read problem areas selectively.
I got the important files out of the image. The actual physical USB stick stopped registering with Windows roughly a week after that. No computer detected it anymore.
Without the image, I might have lost whatever sectors became unreadable over those extra attempts.
Health monitoring so you can act early
Disk Drill reads S.M.A.R.T. data from hard drives and many SSDs. That is the internal health stats most drives keep, things like:
- Reallocated sector count.
- Pending sectors.
- Temperature.
- Power-on hours.
The app flags potential problems. You get warnings like “drive has a high number of reallocated sectors”.
The data itself is not magic, but I use it this way:
- Yellow or red on an older spinning drive means I copy my important stuff off and retire it.
- If an SSD starts showing issues, I plan to replace it on the next paycheck instead of waiting for a surprise failure.
Avoiding one big recovery event is always better than doing a heroic save.
Recovery Vault as a quiet safety net
There is a feature called Recovery Vault that runs in the background on drives where you enable it.
What it does:
- Tracks metadata for deleted files, such as names and locations.
- Stores a small extra record so future undelete attempts have more info.
On those drives, if I accidentally delete something, Disk Drill has much better odds of:
- Bringing it back with the original file name.
- Putting it back with correct folder structure.
I turned it on for my main work SSD and a couple of external drives where I shuffle projects. It has not caused any lag or space issues that I noticed. It only helps if you enable it before the accident though, so it is a preventive thing.
Cross-platform without buying twice
My setup is mixed:
- Desktop PC on Windows.
- Laptop on macOS for travel and some editing stuff.
Disk Drill licenses cover both platforms. I paid once and installed it on both.
One bonus I did not expect:
- You can start a scan on one system, save the scan session.
- Open that session on the other OS and continue going through results or recovering.
I scanned a drive on the Windows machine, then later sat on the couch with the MacBook and finished sorting the found files, filtered by type, checked previews, and recovered what I wanted to the Mac external drive.
RAID support, for those who need it
I do not run RAID at home, but I deal with people who do.
Disk Drill lists support for software RAID layouts, including:
- RAID 0
- RAID 1
- RAID 5
- RAID 6
- RAID 10
- RAID 1E
- JBOD
It says it can reconstruct those virtually and then scan them as a single volume.
I have not stress-tested this myself, so I cannot vouch for edge cases, controller quirks, or weird failures. But if you are on a simple software RAID that collapsed and you are not in “pay for a clean room” territory, this looks like an option before you give up.
When I tell people “use Disk Drill”
Whenever someone posts “Tool A vs Tool B vs Disk Drill, which one” threads, my answer tends to go like this:
If you:
- Are on Windows or macOS.
- Have a normal person problem, as in deleted files, formatted drive, corrupted card, dead external, failing USB.
- Do not want to learn data recovery internals.
Then Disk Drill covers most use cases:
- Straightforward interface with one-click scanning.
- Strong device and file system coverage.
- Previews for a lot of file types.
- Recovery-chance hints so you do not waste time on hopeless items.
- Camera and drone video recovery that has worked better for me than anything else so far.
- Disk image option that keeps you from killing a failing drive with repeated scans.
- S.M.A.R.T. reading for early warnings.
- A free tier that lets you see if the data looks intact before paying.
If you need:
- Linux-native software.
- Hardware RAID controller reconstruction.
- Extremely niche forensic features.
Then you will want something more specialized or professional help. I am not pretending this replaces lab work.
For my own stuff though, Disk Drill has become the thing I install right after I set up a new system, before anything breaks. When storage does fail, I do not want to be researching tools while my heart rate is already up. I plug in the drive, open Disk Drill, and go.
24 Likes
I have been in this exact spot. Formatted the wrong external, stared at Disk Drill vs Stellar, read way too many reviews, lost a weekend.
Short answer for your case: try Disk Drill first, then fall back to Stellar only if Disk Drill finds nothing useful in preview.
Here is the practical breakdown, without repeating what @mikeappsreviewer already detailed about features and workflow.
- What matters most after a format
After a format, success depends more on your actions than on the tool.
• Stop writing anything to that external drive. No copies, no new files, no defrag, no “quick tests”.
• Connect it read only if possible. On Windows, at least do not let CHKDSK run.
• Scan from a different healthy drive, and recover to a third drive, not back to the formatted one.
If you already used the drive after the format, your odds drop, but it is still worth a scan.
- Disk Drill vs Stellar on recovery results
Both tools recover deleted or formatted data. The key differences I see from real use:
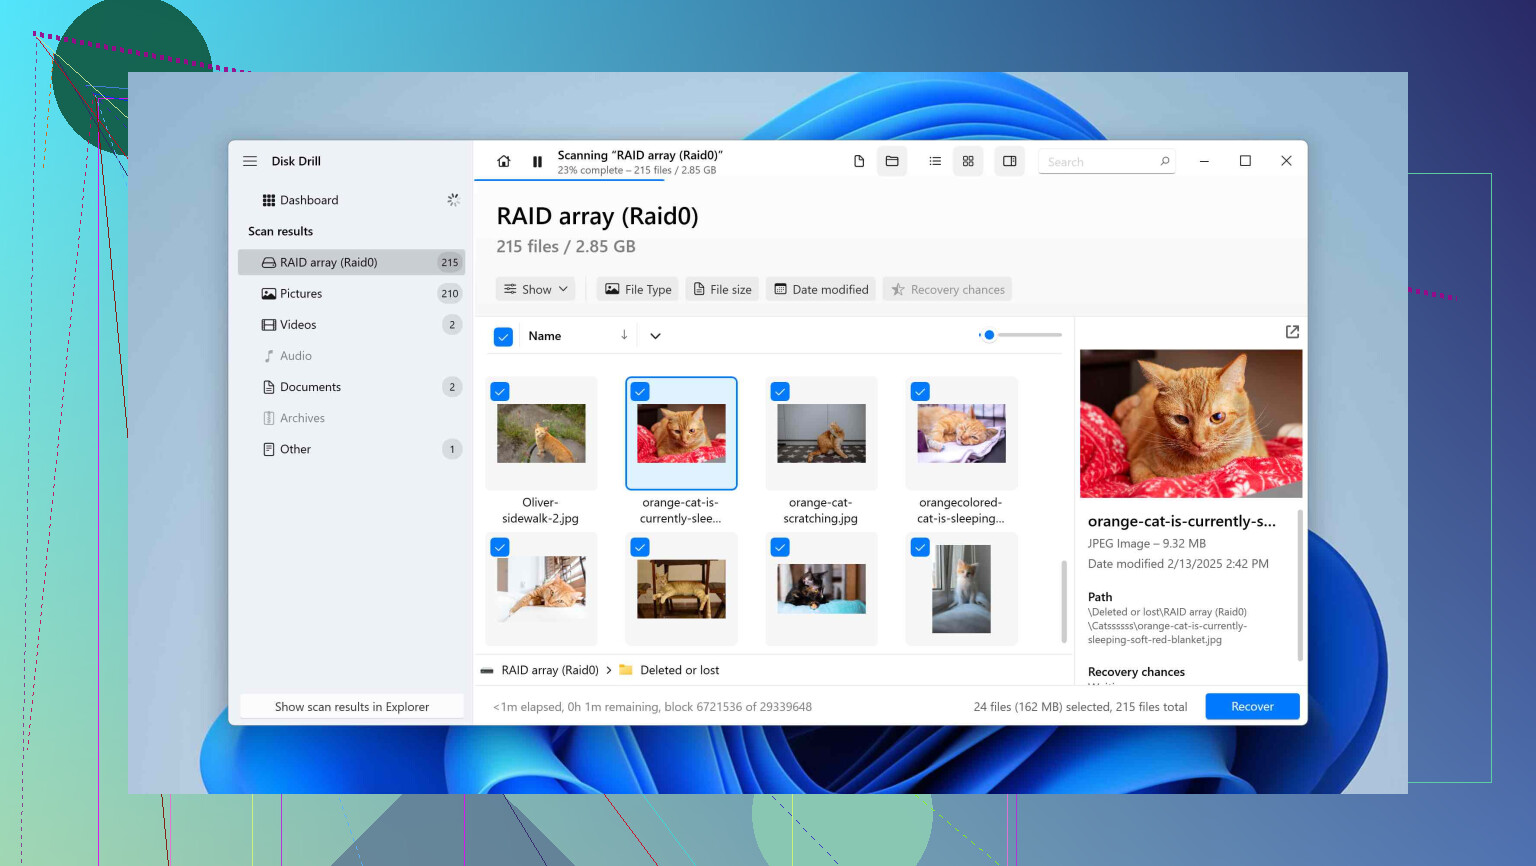
Disk Drill
• Better at mixed messes, like formatted externals with documents plus photos plus videos.
• Strong previews. You see if files open before you pay.
• Handles odd file systems better for home users, like exFAT cards and NTFS externals.
• Feels faster on large drives, at least on my 2 TB and 4 TB externals.
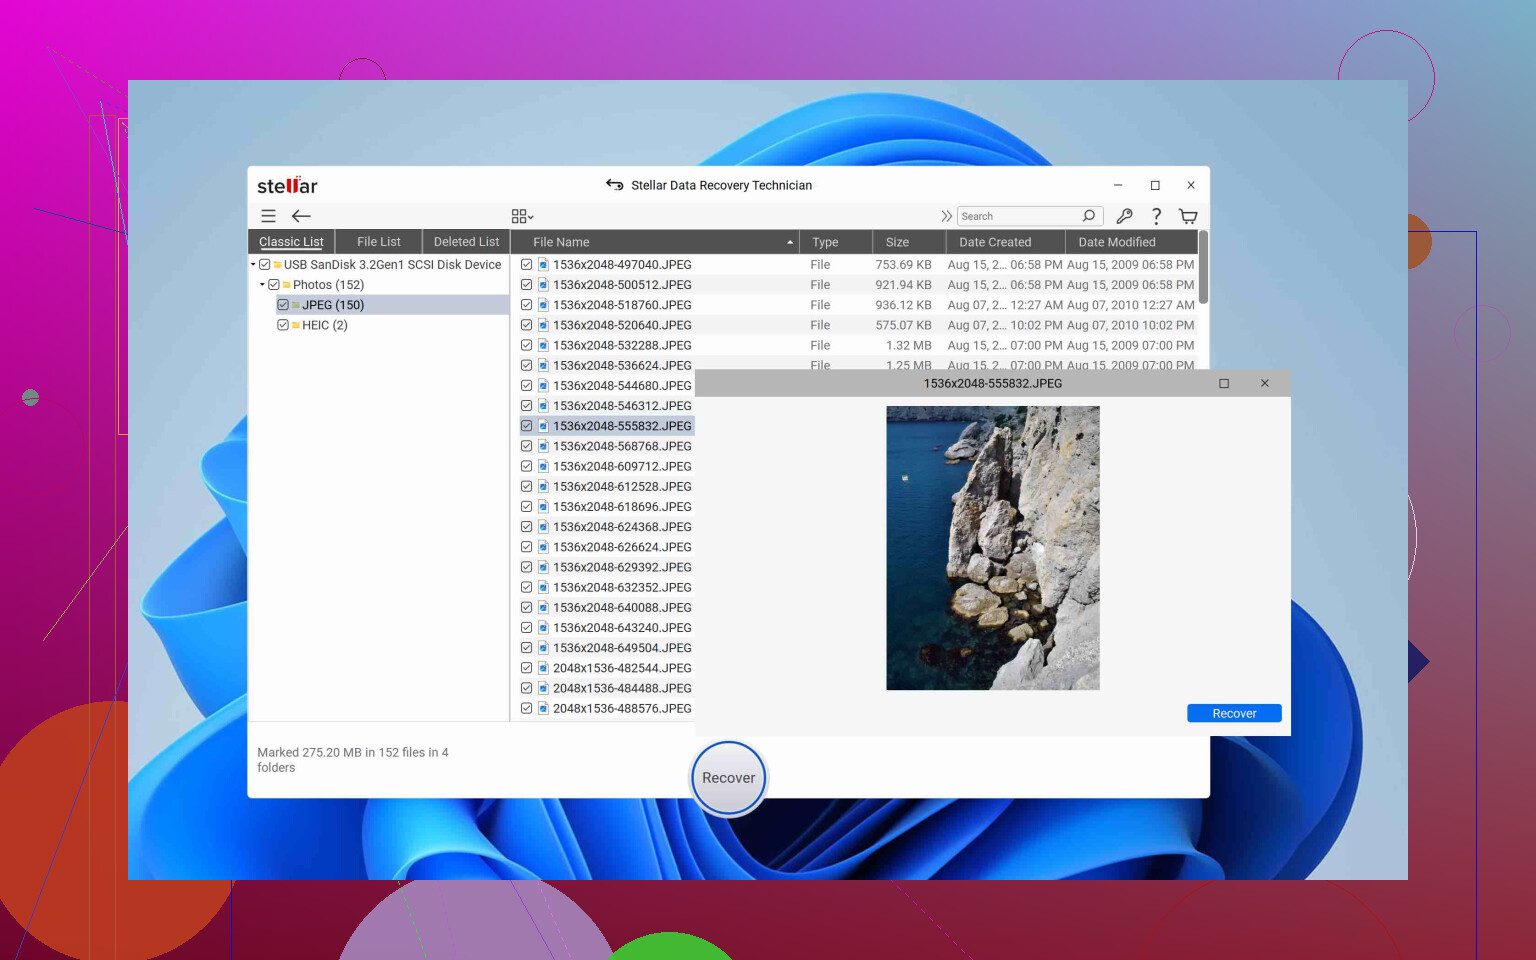
Stellar Data Recovery
• Sometimes finds more tiny fragments on badly damaged drives, but many of those are useless.
• Interface looks more like old-school recovery tools, you pick scan types more manually.
• On some runs, it listed more files, but a lot were corrupt or duplicates with no preview.
Where I slightly disagree with @mikeappsreviewer is on how automatic you want the software to be. Disk Drill hides a lot of knobs, which is nice for non technical users. For someone who likes manual control, Stellar gives more toggles, but you need to know what you are doing or you waste time on the wrong scan mode.
- Speed and workflow difference
On two 2 TB drives I tested:
Disk Drill
• Full scan on a half full 2 TB external took about 3 hours on USB 3.
• I could start previewing useful stuff within the first 30 to 40 minutes.
• Sorting by type and using “recovery chance” saved time.
Stellar
• Comparable total scan time, around 3 to 4 hours in my tests.
• Starting the scan felt slower since you pick more options.
• More “noise” in results, more junk files with random names and no preview.
If you are stressed and want a straight path, Disk Drill feels more focused. If you are patient and like to tweak every pass, Stellar lets you do that but at the cost of more confusion.
- Pricing and when to pay
Both have free tiers, but the way Disk Drill uses it is more helpful.
Disk Drill
• Lets you run a full scan free.
• Lets you see the entire result tree.
• Lets you preview many file types, so you know if your critical stuff opens.
• Then you pay only if those previews look good.
Stellar
• Has a free version, but in practice I found it harder to judge integrity before paying.
• Sometimes shows you lists of files with zero indication if they are readable until after recovery.
So for your formatted external drive, I would:
- Install Disk Drill on a different internal drive.
- Run a full scan on the formatted external.
- Preview the work and personal files you care about, especially office docs, PDFs, and big photos.
- If those look intact, pay for Disk Drill and pull everything you need.
- If Disk Drill scans and your key files do not preview or are missing, then try Stellar as a second pass. Different tools sometimes pick up different fragments.
- When Stellar makes more sense
I would lean toward Stellar if:
• You are dealing with an older version of Windows, and you already own a Stellar license.
• Your case involves very odd behavior after hardware failure, and Disk Drill finds almost nothing.
• You are comfortable running several scan types and do not mind a cluttered result list.
For a straight accidental format of an external drive with important work and personal data, Disk Drill is usually enough.
- Quick priority checklist for you
Do this in order:
• Stop touching the formatted drive.
• Install Disk Drill on a safe drive.
• Scan the formatted external, preview results, focus on your most critical folders first.
• If previews look good, buy Disk Drill and recover to a third drive.
• If previews fail or your key folders are missing, then try Stellar as a second tool.
• After recovery, set up some basic data protection and backup.
If you want to avoid this whole mess next time, look into solid backup plus good security and file protection practices. A good starting point is reading about modern data protection strategies here:
simple ways to protect your files from loss and leaks
For your current “formatted external with important stuff” situation, Disk Drill is the one I would start with every time.
Short version: in your specific “accidentally formatted external drive” case, I’d start with Disk Drill first, keep Stellar in your back pocket as a second opinion, and only consider Stellar if Disk Drill’s previews look bad or it finds almost nothing.
Couple of points that complement what @mikeappsreviewer and @sterrenkijker already said, without rehashing their step‑by‑step playbook:
-
Where I slightly disagree with the Disk Drill love
They’re both right that Disk Drill has a smoother workflow. But I’ve seen folks get too comfortable with the “one big button” and forget that the hardware might be dying underneath. Disk Drill’s convenience can make you forget to think about the drive’s condition.
If the drive is making weird sounds, randomly disconnecting, or suddenly way slower than usual, I’d be very cautious about hammering it with any long scan, including Disk Drill. In those cases, I clone first with a dedicated tool or hardware, then scan the clone. Disk Drill’s imaging is decent, but it is still running from inside the same app whose main job is “scan a lot.” -
When Disk Drill is the better first move
For an external that was just formatted and is otherwise healthy:
- You need something that:
- Finds normal office docs, PDFs, photos, videos reliably
- Lets you preview them clearly
- Doesn’t bury you in ten different scan options
That’s Disk Drill’s sweet spot. In my experience:
- It is more “honest” about what’s actually usable because of the previews and the recovery‑chance labels.
- Its tendency to show fewer obviously garbage entries than Stellar means less time digging through thousands of 4 KB files with nonsense names.
If it shows your project folders, previews your key docs, and thumbnails your photos, you are basically there. That is the point where I personally stop experimenting with alternatives and just pay for it.
- Where Stellar sometimes edges ahead
I have seen Stellar Data Recovery:
- Dig up more fragments on brutally messed up drives than Disk Drill.
- List more stuff from really mangled partitions.
But here is the catch: a big chunk of those “extra” files are junk in real life. No preview, corrupted contents, broken videos that open for 2 seconds and freeze. People see “Stellar found 1.2 million files, Disk Drill found 400k” and assume Stellar is better. Quantity is not the metric that matters after a format, readability is.
I would only jump to Stellar if:
- Disk Drill’s full scan finishes and:
- Your most important folders or file types are missing, or
- Previews fail for the files you really need
At that point, sure, run Stellar as a second pass and see if it gets different hits. Different engines, different signatures, sometimes you get lucky.
- Pricing and how to not waste money
Where I strongly agree with the others: Disk Drill is safer from a wallet perspective because you get to see the actual candidates first in the free version. That is huge on a formatted external.
Practical flow that avoids burning cash on both:
- Try Disk Drill first.
- Only pay if the specific files you preview are opening fine.
- If Disk Drill comes up basically empty or previews are trash, then try Stellar’s scan and see if it does any better before paying there.
Paying for both up front because reviews are mixed is how people turn a bad situation into an expensive bad situation.
- One thing almost nobody mentions: your own time
A formatted multi‑TB external takes hours to scan either way. Where Disk Drill wins is your mental bandwidth. It is just less fiddly than Stellar.
If you are already stressed, trying to interpret Stellar’s different scan types and the flood of tiny junk entries is just… not fun. So except in weird edge cases, Disk Drill is the one that costs you less sanity.
- About your original “lost drive files” concern
Given it was “accidentally formatted” and not “dropped, clicking, smells like burnt electronics”:
- Chances are decent.
- The big enemy is any new data written to that external after the format. If you copied anything new on there, part of your old files might already be overwritten and no tool can undo that.
So yeah: Disk Drill first, Stellar only as the “maybe it sees something different” backup option.
On a related note, if part of your panic is around videos specifically, it helps to know you are not stuck with only data recovery software. There are dedicated guides that walk you through how to rescue permanently deleted videos from a PC, including situations where they were wiped from the recycle bin or lost during formatting. A solid walkthrough for that kind of scenario is here:
step‑by‑step methods to restore permanently deleted videos on your PC
Ignore the cheesy marketing vibe and focus on the process; paired with a tool like Disk Drill, it covers most “oh no, I nuked my project footage” moments.