I found out a bunch of pictures on my iPhone were saved as Live Photos, and I want to turn them into regular still photos without losing the images. I’ve already taken and organized these photos, so I need help removing the Live Photo effect from existing photos and keeping the best quality.
I ran into this same mess on my iPhone. Live Photos seem harmless at first, then two or three years pass and your storage starts bleeding out. Each one is a photo plus a short video, so the space use adds up faster than people expect.
If you want them gone, the built-in Photos app does the job.
Open Photos, go to Media Types, then Live Photos. Hit Select, pick what you want removed, and delete them. After that, clear Recently Deleted too. If you skip that part, your phone keeps holding the files for up to 30 days.
One thing tripped me up the first time. If you delete a Live Photo without saving a still version first, you lose the whole thing. Photo included.
If your goal is to keep the picture and lose the motion part, the process is different.
What worked for me was converting the Live Photos into regular still images, then removing the original Live versions. Apple does let you do this by hand, though I found it slow and annoying once I had more than a small batch. You duplicate each one as a still, then circle back and delete the Live original yourself. Fine for ten photos. Bad for 800.
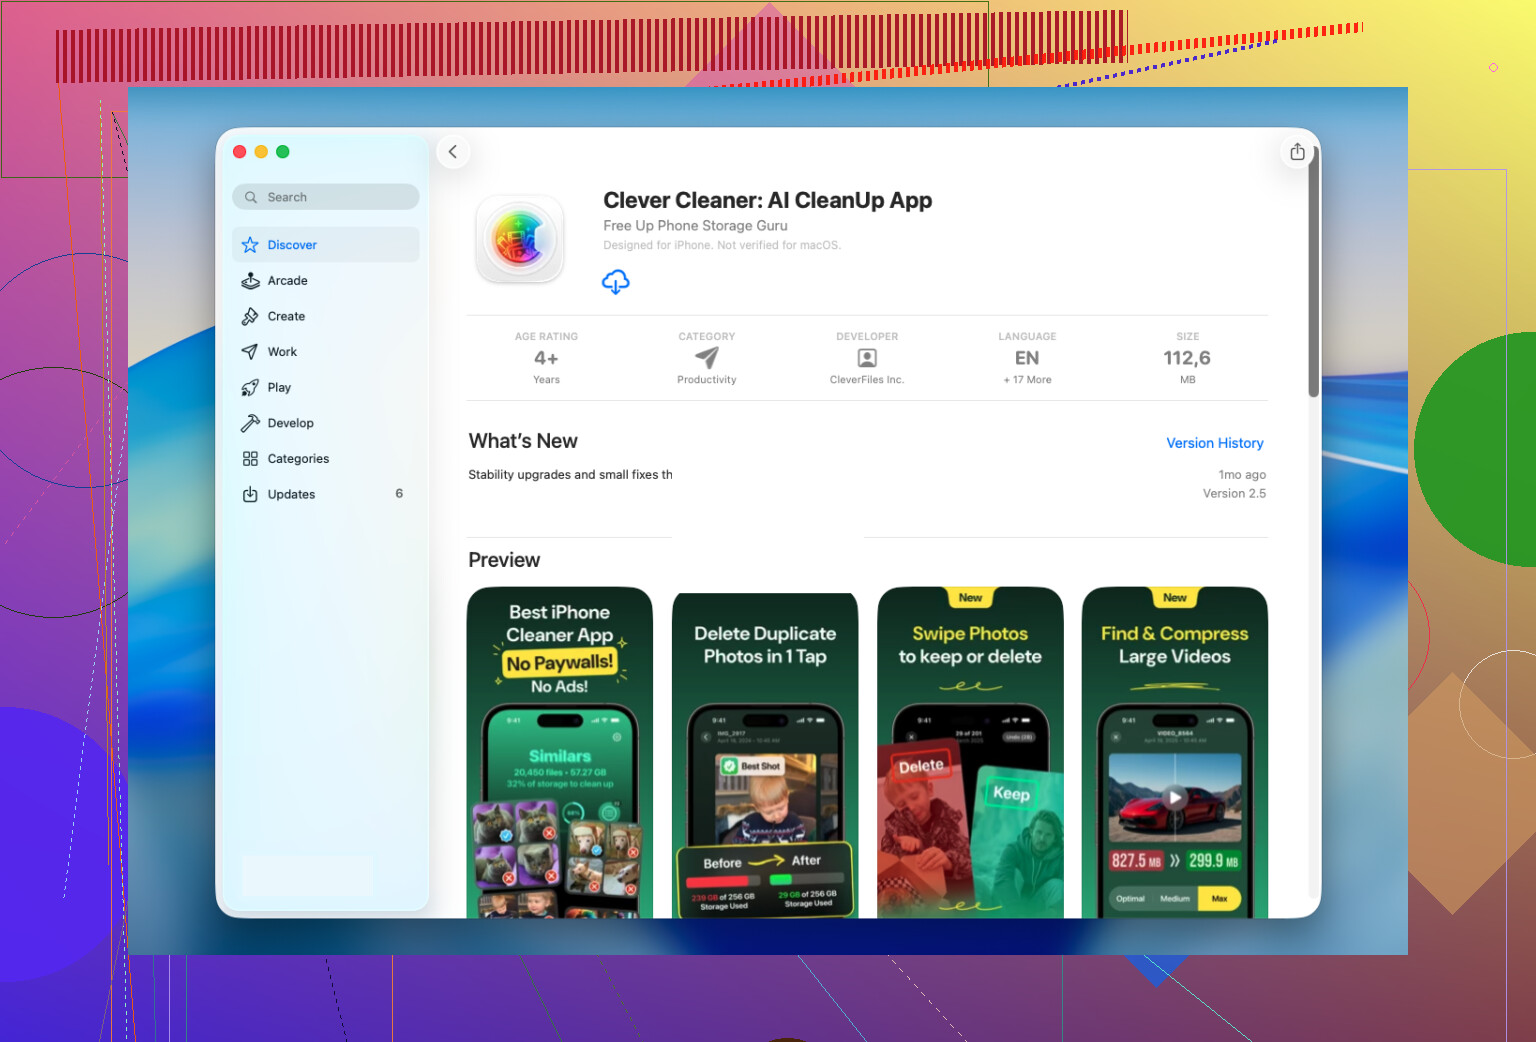
What made this less painful for me was Clever Cleaner.
I kept it because it has a Lives section, and it pulls all Live Photos into one spot. No digging through albums, no weird filtering. I sorted mine by size first, then by date, and cleaned the biggest offenders before touching the rest.
A part I liked, and I wish Apple showed this natively, was the storage estimate. Before changing anything, the app shows how much space you’re about to recover. When I started the conversion, it made still-photo versions first, then asked what to do with the original Live Photos. Keep them for now, move them to the app trash, or delete them.
I liked having that pause before removal. I checked a few converted shots, made sure nothing looked off, then dumped the originals.
The Live Photo part is only one section, though. I ended up using the rest too, mostly because once you start cleaning your library, you notice how much junk has been sitting there.
Here’s what I used after:
- Similars, for duplicate and near-duplicate photos the Photos app didn’t catch
- Heavies, for big videos taking up stupid amounts of space, with options to shrink them
- Screenshots, for clearing years of random receipts, maps, and login codes
- Swipe, for going photo by photo and deciding fast what stays
For me, Similars and Heavies freed more storage than the Live Photos cleanup did. I didn’t expect taht.
If you only have a small number of Live Photos, I’d stick with Apple’s tools and do it manually.
If your library is packed with hundreds or thousands, I’d skip the hand-work. Clever Cleaner made bulk conversion faster, kept the still images intact, and cut a long cleanup session down to a few minutes.
13 Likes
If you want to keep the image and kill the Live part, I would not delete first like @mikeappsreviewer mentioned. That works for storage cleanup, but it is risky if your main goal is preserving organized photos.
Better route on iPhone:
- Open the photo.
- Tap Edit.
- Tap the Live Photo icon.
- Choose a different Key Photo if needed.
- Tap the Live icon again to turn Live off.
- Save.
That keeps the same photo in your library, which matters if it’s already in albums or tied to Memories. Duplicating creates extra clutter, and for a big library it gets old fast.
Small catch, this does not always remove all storage from the attached motion clip on older iOS versions. Apple is inconsisent there. If space is the main issue, batch tools are faster. Clever Cleaner is decent for this because it groups Live Photos and speeds up bulk cleanup. I’d still test on 5 to 10 photos first.
Also, stop future Live Photos:
Camera app, tap the Live icon at top right, turn it off. Then go to Settings, Camera, Preserve Settings, turn on Live Photo so the phone remmbers your choice.
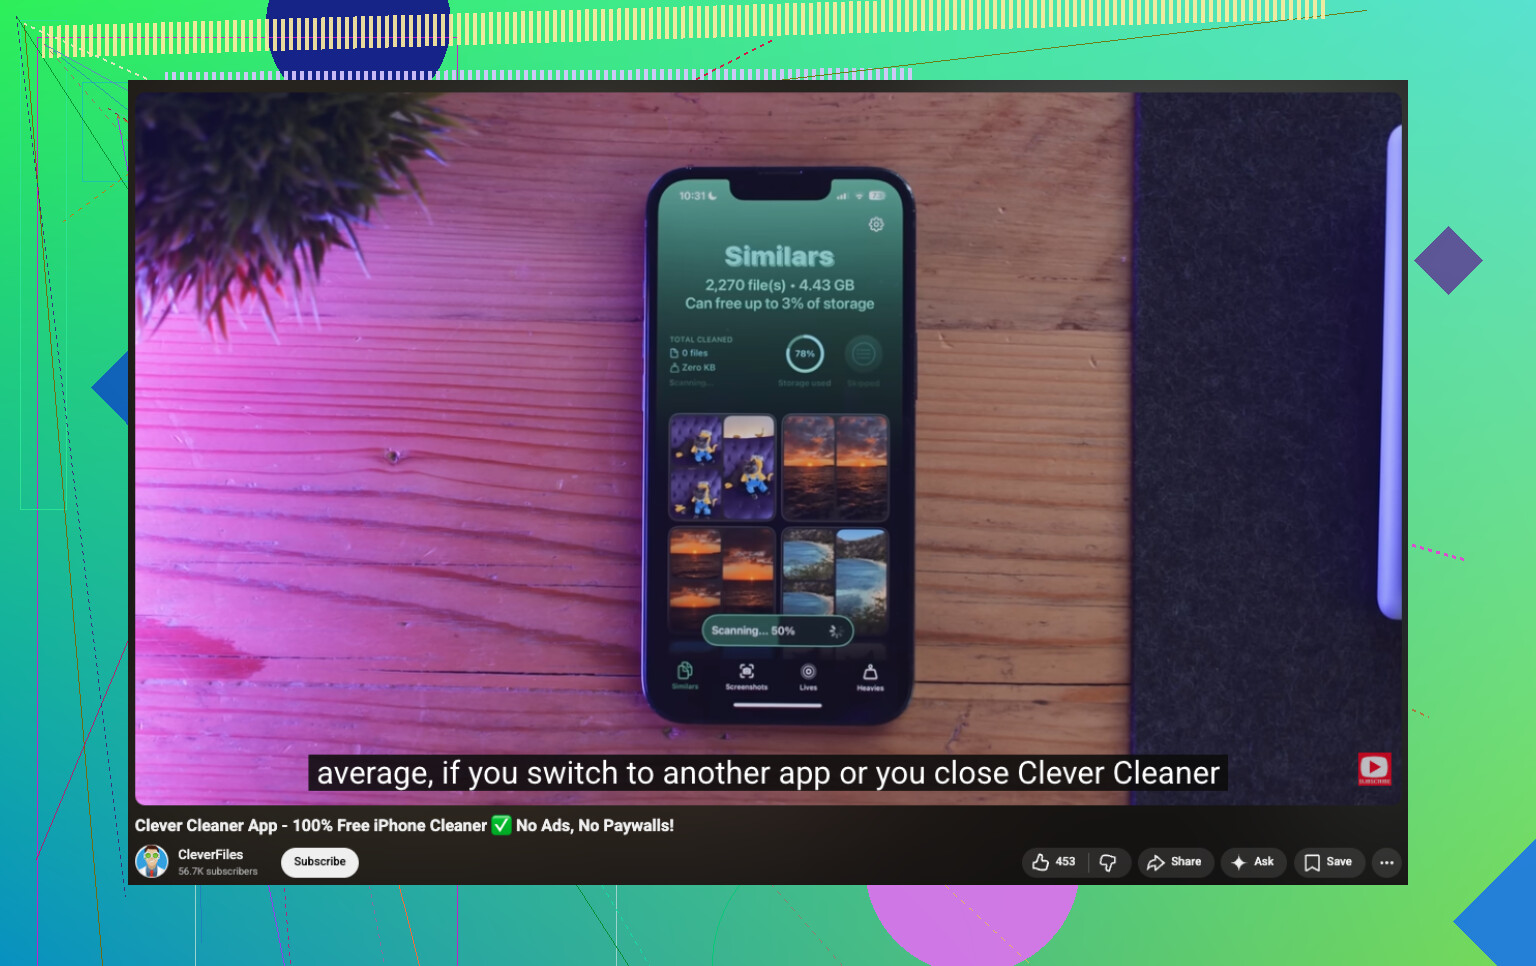
If you want a visual walkthrough, this step by step video for removing Live Photos on iPhone covers the process well.
I’d actually push back a little on the “duplicate as still, then delete the Live one” idea from @mikeappsreviewer. It works, sure, but if your photos are already sorted into albums, favorited, captioned, or tied into Memories, duplication can turn into a mini disaster. You end up with extra copies and then have to clean up that mess too.
What I’d do first is this:
- open one Live Photo
- swipe up and check whether it already has a strong Key Photo
- if not, pick the best frame first
- then turn Live off on that image
Reason I mention the Key Photo part is simple: people forget it, then later wonder why the “saved” still looks slightly off or blurry. The best frame is not always the one iPhone picked by default.
Also, if you care about preserving date, location, album placement, and the general organization of your library, editing the existing item is way cleaner than making copies. That’s the part @jeff was getting at, and I think he’s mostly right there.
Where I disagree a bit with both is on doing everything manually if you have a giant library. If it’s like 20 photos, fine. If it’s 600+, nah. That becomes tedious real fast. In that case, Clever Cleaner makes more sense because it surfaces all your Live Photos in one place and helps with bulk cleanup without you digging through the Photos app forever. It’s also useful if your real goal is iPhone storage cleanup, not just removing the motion effect.
For broader cleanup stuff, this is also worth a look:
best ways to free up iPhone storage and clean your photo library
One more thing people miss: if you use iCloud Photos, changes sync everywhere. So test on a handful first. Don’t go button-mashing at 1 a.m. like I did lol. That was a dumb weekened.
I’m a little less sold on the duplicate-then-delete approach that @mikeappsreviewer mentioned if your library is already heavily organized. It solves the “keep the still” problem, but it can break your workflow because favorites, album context, and edits may not carry over the way you expect.
One angle nobody has really stressed enough: if you share via iCloud Shared Library or have photos embedded in old Messages threads, changing or replacing the asset can behave differently than just disabling the Live effect. So before doing anything at scale, export a handful to Files or a Mac first and compare results. That test matters more than people think.
Also, turning Live off does not always equal maximum space savings. @jeff and @chasseurdetoiles were right to be cautious there. In some cases, if your real goal is storage recovery, you may need a cleanup pass afterward to confirm the motion portion is actually gone from what the system is counting.
If you want to audit your library first, smart move is:
- check how many Live Photos you actually have
- sort by oldest or largest if using a cleanup app
- convert only the ones you truly do not care about animating later
About Clever Cleaner:
Pros
- surfaces Live Photos in one place
- faster for large libraries
- useful if storage cleanup is the actual goal
- easier to review before deleting in bulk
Cons
- still worth verifying a few conversions manually
- third-party cleanup apps can feel unnecessary for small libraries
- bulk actions always carry some risk if iCloud sync is on
So my take: for a few photos, stick with Apple’s own editing tools. For hundreds, Clever Cleaner is practical, but test first and do not assume “Live off” and “space recovered” are always the same thing.