I accidentally permanently deleted important files on my Mac and realized too late they were not in the Trash or backed up in Time Machine. I need help figuring out if there is any way to recover deleted Mac files because some of these documents and photos are really important and I need them back as soon as possible.
I hit this once on my Mac, emptied Trash, felt sick for about ten seconds, then forced myself to stop clicking around. That part matters more than most people think. If you keep using the Mac like nothing happened, the SSD starts reusing free space, and your odds drop fast.
Here’s the order I’d follow.
1. Check Time Machine and iCloud first
This is the quickest path when it works. No scanning, no guessing.
- Go to the folder where the file used to live.
- Open Time Machine.
- Jump back to a backup from before you deleted it.
- Restore the file.
- Then sign in to https://iCloud.com and look through Recently Deleted, especially for documents and photos.
I’d do this before installing anything else. A backup restore takes minutes. File recovery can take hours and still come up empty.
2. Check for APFS snapshots
A lot of Mac users miss this. macOS often keeps local APFS snapshots on its own, even when Time Machine was never fully set up. I’ve seen people assume they had no backup, then find an older snapshot still sitting there.
Open Disk Utility, pick your APFS Data volume, and see whether snapshots exist from before the deletion. If you find one from the right time, you might be able to pull the missing files from there.
3. If backups fail, run recovery software
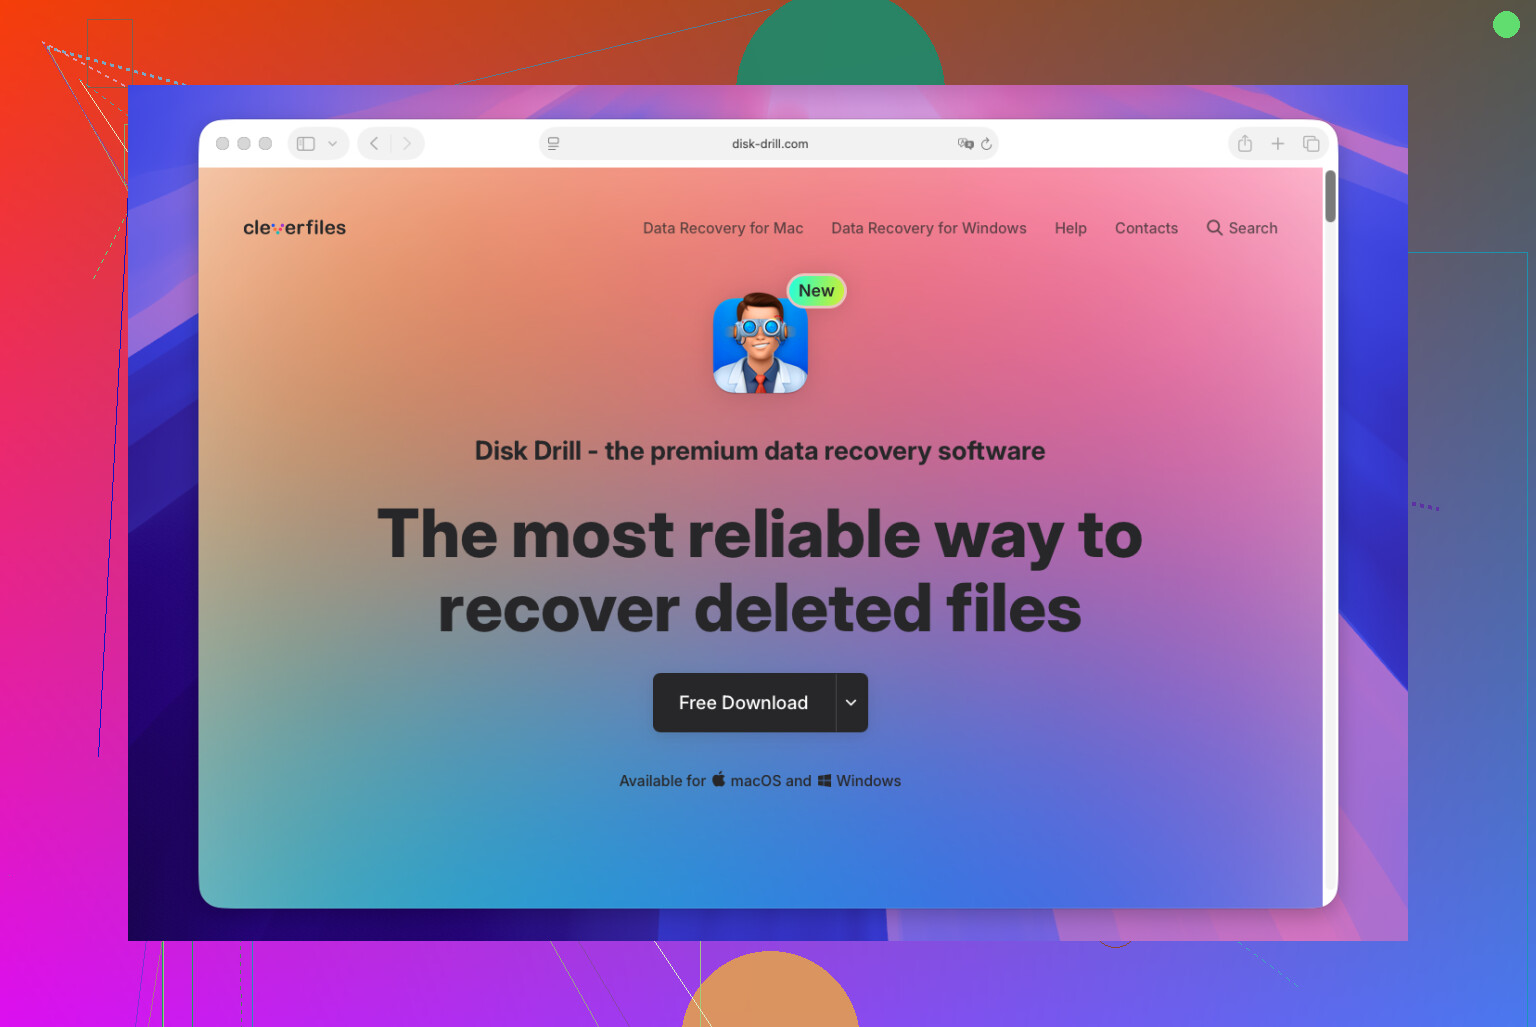
When there’s no backup, this is usually the next move. Disk Drill is one of the easier options on recent macOS versions, including Apple Silicon Macs. I’ve used tools in this category before, and ease of use matters when you’re already stressed and trying not to make things worse.
- Install the software.
- Select the drive where the files were stored.
- Run the scan.
- Preview what it finds.
- Recover files to a different drive if you have one.
If you want a free route, PhotoRec exists, but it’s rougher. In my experience, it often dumps back files with broken names and no folder structure, so you end up sorting through a mess.
One thing people forget about SSDs
Modern Macs use SSDs, and SSDs use TRIM. Once TRIM clears deleted blocks, recovery gets a lot harder, sometimes impossible. Old hard drives were slower to wipe traces. SSDs are less forgiving. So if this happened five minutes ago, stop using the machine now. Don’t keep browsing, don’t keep saving stuff, don’t keep moving files around. Yeah, it feels extreme, but it helps.
If I were in your spot, I’d check Time Machine, then iCloud, then APFS snapshots, and after tht I’d go straight into a recovery scan. I’ve seen deleted files come back after Trash was emptied. The people who had the best results usually stopped using the Mac right away and moved fast.
2 Likes
Stop using the Mac first. I agree with @mikeappsreviewer on tha part. Every write to the SSD lowers recovery odds.
A couple other places to check before you spend hours scanning:
-
Look inside app-specific recovery bins.
Photos, Notes, Pages, Word, and some Adobe apps keep their own recently deleted area or temp autosave files. For Word, check AutoRecovery in:
~/Library/Containers/com.microsoft.Word/Data/Library/Preferences/AutoRecovery -
Search temp and unsaved file locations.
Open Finder, press Command + Shift + G, then check:
~/Library/Autosave Information
/private/var/folders
~/Library/Containers
Sort by Date Modified. You might find a working copy. -
Check cloud sync version history.
If the file lived in Dropbox, OneDrive, Google Drive, Box, or iCloud Drive, log into the web app and restore an older version. Many services keep deleted files 15 to 30 days on basic plans, longer on paid ones. -
Use Terminal for hidden stuff.
Spotlight misses deleted temp files. Terminal does better for broad searches:
find ~/Library -iname ‘filename’
mdfind ‘kMDItemFSName == ‘filename’’
This is boring, but it works more often than people expect. -
If you scan, recover to an external drive.
I disagree a bit with installing tools on the same Mac if space is tight. Better route is boot from another volume or use Target Disk Mode or Share Disk, then scan the internal drive from another Mac. If you use Disk Drill, do it this way if possble. It reduces overwrite risk.
Also, this video is a decent walkthrough if you want a visual step-by-step:
how to recover deleted files on Mac, step by step video guide
If the files were deleted weeks ago on an SSD, odds drop a lot. If it happened today, you still have a shot.

One thing I’d add to what @mikeappsreviewer and @caminantenocturno said: check whether the file was ever actually deleted locally. Sounds dumb, but on macOS a lot of “deleted” stuff is really just moved, renamed, or replaced by an app sync conflict.
Try this before a deep scan:
- In Finder, search by Kind, not just filename
- Search by file extension only, like
.psd,.docx,.pages,.xlsx - Sort by Date Last Opened and Date Modified
- Check
Recents, not because it’s magic, but because aliases and moved files still pop up there sometimes - If it was a desktop/documents file, make sure Desktop & Documents in iCloud Drive didn’t relocate it
I also kinda disagree with the “install recovery software right away” approach if the files are super important. If the data matters a lot, safest move is to shut the Mac down, connect the drive to another Mac if possible, and scan it externally. Less chance of overwriting. If you do go the software route, Disk Drill for Mac file recovery is one of the more practical options because it previews recoverable files and is easier to use than the command-line stuff.
Also check file versioning inside the app itself. Pages, Numbers, Keynote, and some Adobe apps let you browse older versions from the File menu. That has saved me before when “deletion” was really just an overwrite.
If you want more reading on Mac drive recovery options, this thread is useful: best software to recover files from a MacBook hard drive
If the deletion happened on an SSD a while ago, be realistic. TRIM is brutal. If it was recent, you still might have a shot, but move fast and stop using the machine asap.
One angle I don’t see emphasized enough: check whether the drive has file system damage, not just deleted files. If the APFS catalog got messed up during a crash, the file may be “gone” in Finder but still present structurally.
What I’d add to what @caminantenocturno, @viaggiatoresolare, and @mikeappsreviewer said:
- Run First Aid from Recovery Mode on the affected volume
- If the file was inside an external drive, SD card, or USB SSD, clone that device first before scanning
- Check email attachments, Slack/Teams uploads, printer queues, and app export folders. People often recover the “last sent” copy there
I slightly disagree with doing First Aid too late. On a damaged volume, recovery tools can misread the file tree until basic errors are fixed.
If you do use Disk Drill, pros: simple preview, good APFS support, easier than Terminal-heavy tools. Cons: not magic on TRIMmed SSDs, deep scans can return lots of messy results, and installing it on the same internal drive is not ideal.
If the file was mission-critical and not just inconvenient-to-lose critical, I’d stop DIY after the basic checks and consider a data recovery lab. On modern Mac SSDs, software recovery has a hard ceiling.