I’m trying to clean up a specific album in the iPhone Photos app, but I don’t want to delete each picture one by one. I need help figuring out how to select and delete multiple photos from one album without accidentally removing the wrong photos from my library.
If your iPhone keeps yelling about storage, Photos is usually one of the first places worth checking. I had the same problem and thought I’d already cleared out the obvious junk, then found out I still had more than 18,000 photos sitting there. Manually tapping through that many is a waste of time, so it’s better to pick the cleanup method based on what you’re trying to get rid of.
Use the Photos app when you only need to delete a batch
For smaller cleanups, like a trip, an event, or a few hundred random shots, the regular Photos app works fine.
- Open Photos.
- Tap Select in the upper-right corner.
- Drag your finger across photos instead of tapping each one separately.
- For bigger sections, pinch out to the Months view first so you can grab larger chunks faster.
- Tap the trash icon once you’ve selected the stuff you want gone.
This is still the most controlled way to do it because you decide exactly what gets deleted. It just gets annoying once your library is huge.
Delete whole media categories when it makes sense
If you mainly want to clear screenshots, screen recordings, bursts, or similar clutter, Apple already sorts a lot of that for you.
- Open Photos.
- Go to the Collections tab.
- Scroll until you find Media Types.
- Open something like Screenshots, Bursts, or Screen Recordings.
- Tap Select, then Select All.
- Delete the selected items.
This is much faster than dragging through your whole camera roll, mostly because these albums actually give you a Select All option.
Use Clever Cleaner if the library is too big to sort by hand
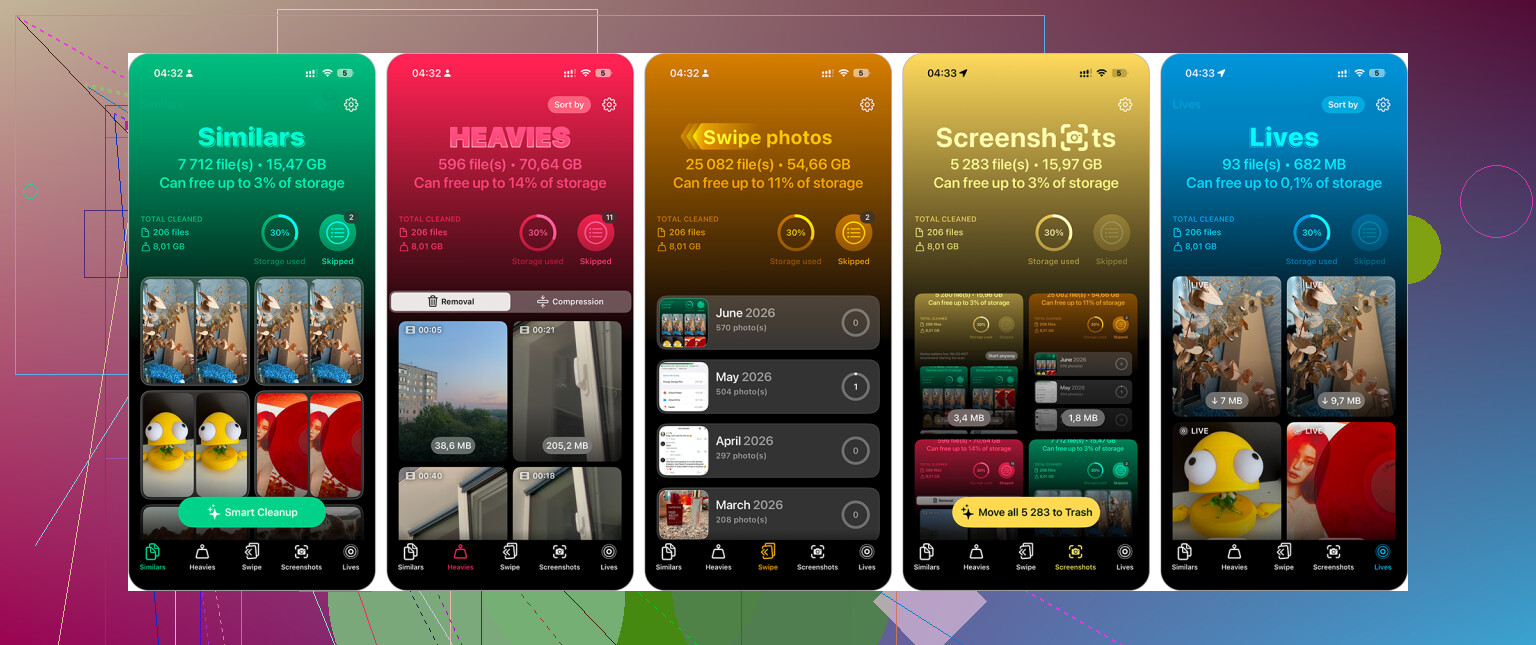
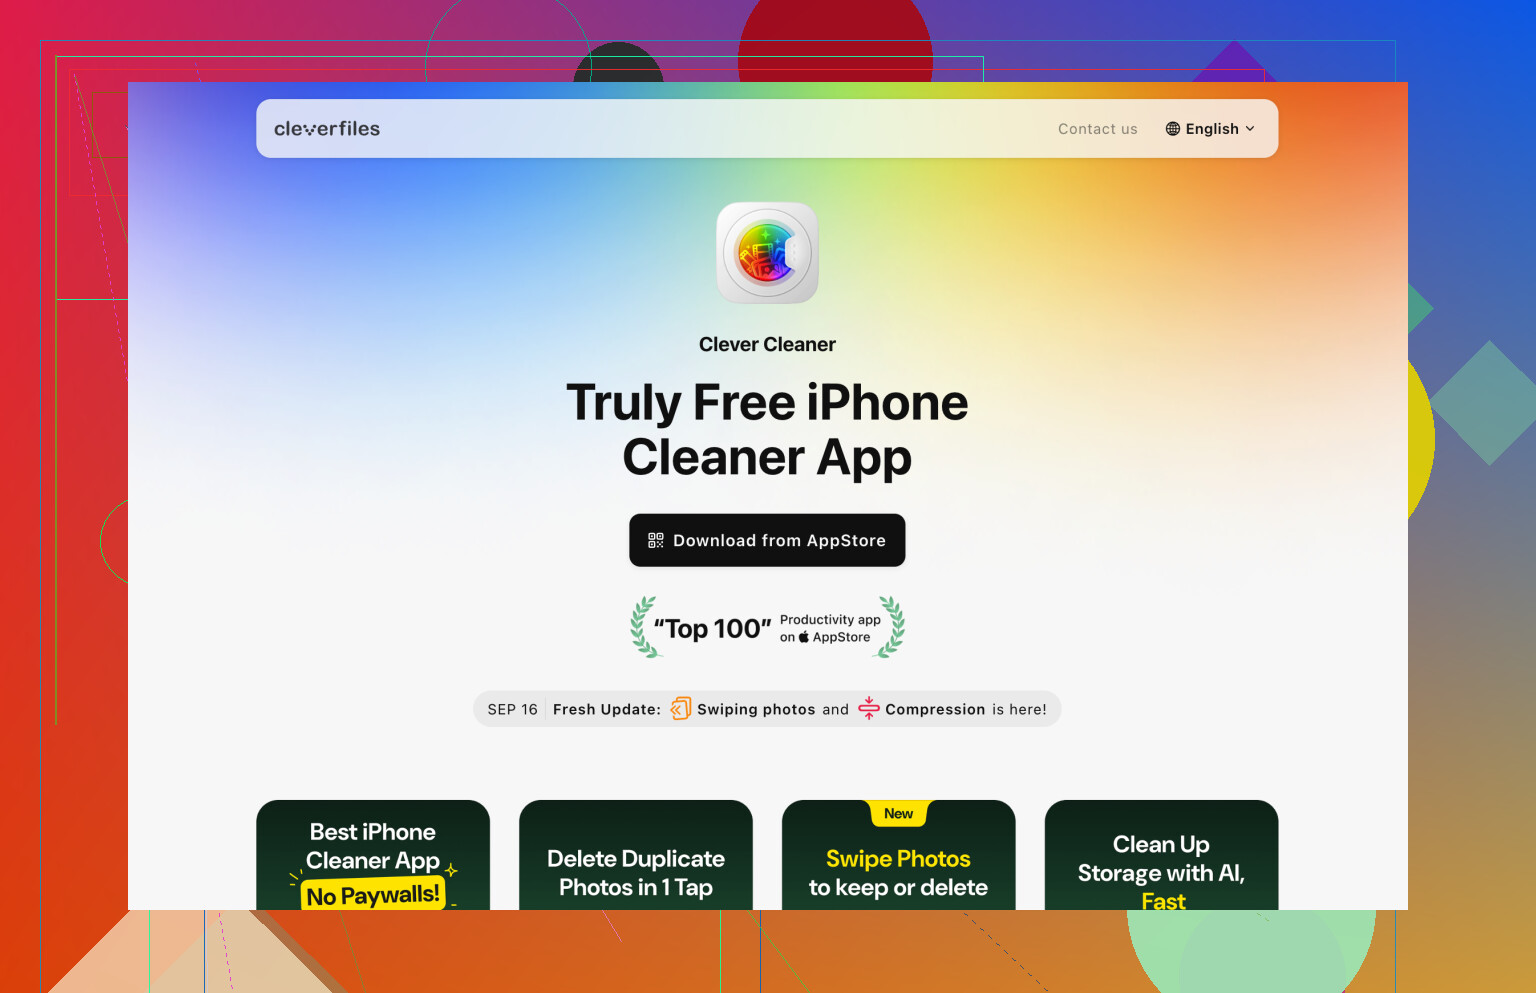
For a really large photo library, Clever Cleaner saves a lot of time because it groups the mess into cleanup-friendly sections instead of making you hunt for everything yourself.
- Install Clever Cleaner and open it.
- Check Similars to find nearly identical photos. It also suggests the Best Shot to keep.
- Swipe through and remove the duplicates or near-duplicates you don’t want.
- Use the Screenshots section if you want to wipe those out in bulk.
- Look through Live Photos if you want to turn them into normal still photos and save space.
- Open Heavies to find the biggest videos, since deleting one large video can free up more space than deleting a ton of regular pictures.
I’m usually pretty skeptical of cleaner apps because so many are packed with ads or push subscriptions, but this one is free and handles big libraries better than doing it manually.
Use a computer for mass deleting
Once you’re dealing with thousands of photos, using a computer is just easier. A keyboard and mouse are less painful than dragging around on a phone screen forever.
- Go to iCloud.com on your computer if you use iCloud Photos.
- Sign in to your account.
- Use Shift-click to select big ranges of photos.
- Delete the photos you don’t need anymore.
- Wait for the changes to sync back to your iPhone.
This is probably the more comfortable option if you already know you’re going to delete a huge amount.
Factory reset only if you want everything gone
If you don’t care about keeping the photos, or anything else on the phone, a reset is the fastest way to wipe it clean. Just make sure anything important is backed up first.
- Go to Settings > General > Transfer or Reset iPhone.
- Tap Erase All Content and Settings.
- Follow the prompts to erase the device.
I wouldn’t do this if there’s even a chance you still need something on the phone. But if you’re selling it, handing it to someone else, or you want a totally fresh start, this is the quickest option by far.
9 Likes
Don’t hit the trash can unless you actually want those photos gone from your whole library, not just that album. In a normal iPhone album, open the album, tap Select, drag across the photos you want, then use the three-dot menu or remove option and choose Remove from Album if that’s what you mean. That only cleans up the album layout. If you tap the trash icon, those pictures go to Recently Deleted and disappear from the main library too. Mike’s batch-select tip is right, but this album-vs-library difference is the part that trips people up most.
If the “album” you’re looking at is Recents, Library, Screenshots, Favorites, or another auto-made section, the answer changes because those aren’t normal albums you can simply clean up. Deleting there means deleting from the library, and for Favorites you’d just un-heart them instead of removing them from an album.
For a regular album you created, @viajeroceleste is right about avoiding the trash can. Open that album, tap Select, then drag your finger across a row of thumbnails and keep dragging down if you want to grab a bunch at once. After they’re selected, use the three-dot menu and choose Remove from Album. That takes them out of that album but leaves them in your main photo library.
Small annoyance: if the photos were synced onto the iPhone from a computer, the phone may not let you manage them the same way. In that case you usually have to change the synced album on the computer and sync again. So if the Remove from Album option is missing, it may not be you missing a button. It may be the type of album.
Expect the button names to vary a little depending on what kind of album you’re in. If it’s an album you made yourself, go into that album, tap Select, then drag over the thumbnails you want. You can keep your finger near the bottom of the screen and it should keep scrolling while selecting, which is faster than tapping 80 tiny checkmarks.
After that, don’t use the trash can unless you really mean delete from Photos entirely. Look for the three-dot menu or the Remove option and choose Remove from Album. That removes the selected items from that album only. @viajeroceleste’s warning is the important one here because Apple makes “remove from album” and “delete photo” feel way too close together.
Small catch: removing from an album is not like deleting to Recently Deleted. If you remove the wrong photo from the album, nothing is “recovering” it back into that album automatically. The photo is still in your library, but you’d have to find it again and add it back. If the album matters, select a smaller batch first and make sure you’re seeing Remove from Album before you do the whole cleanup.