I’ve been trying to take portrait photos of friends and family, but they keep coming out either blurry, poorly lit, or just not very flattering. I’m not sure what I’m doing wrong with lighting, camera settings, or posing. Can anyone share practical tips or a simple step‑by‑step approach for taking sharp, well‑lit, natural-looking portrait photos, even with just a basic camera or smartphone?
If you’re trying to get decent portrait photos on your own, I’ve found gear is rarely the problem. My camera roll got better once I stopped obsessing over equipment and started fixing light, background, and how I stood in front of the lens.
Here’s what started working for me.
- Use window light, not ceiling lights
Harsh overhead lights made me look tired and older in almost every shot. The quickest fix was this:
• Stand close to a window during the day.
• Face toward the window, at a slight angle, instead of turning your back to it.
• Kill any bright lights behind you so they don’t overpower the window.
Midday sun blasting straight in usually looks rough on skin. Early morning or later afternoon gives softer light. If the sun is hitting you directly, step a bit away so you are lit by the light bouncing around the room instead.
- Strip the background down
Busy backgrounds ruined half my photos. Piles of laundry, open doors, shelves with random stuff, all of that pulls attention away from your face.
What worked better for me:
• Plain wall, closed curtain, or a simple hallway.
• If you go outside, look for a flat fence, hedge, or building wall behind you.
• If your phone has portrait mode, use it so the background gets slightly blurred.
I also started checking the corners of the frame before hitting the shutter. If anything weird pops up behind my head, I move or shift the angle.
- Change your angle and posture
I used to hold the phone at chin level, straight on. Every shot looked like a mugshot.
What looked better:
• Raise the camera a bit above eye level. Not too high, or it looks like an old selfie.
• Turn your face a little to one side instead of staring dead center into the lens.
• Drop your shoulders, pull your neck slightly forward, and keep your back straight.
I usually test three quick angles:
• Face slightly left.
• Face slightly right.
• Chin slightly down with eyes toward the camera.
One of those tends to work for most people.
- Shoot a lot, delete most
Once I stopped trying to get “the” photo in one shot, my results improved.
What I do now:
• Use the burst mode or tap the shutter a bunch of times with tiny changes to expression.
• Move your head a bit between shots. Slight turn. Slight chin change.
• Try neutral face, soft smile, bigger smile. Delete aggressively after.
Out of 30 photos, I usually keep 1 or 2. The rest are trash and that’s normal.
- Stabilize the phone and use portrait mode
Holding the phone in your hand works, but I got sharper photos when I stabilized it.
Options I used:
• Cheap tripod with a phone clamp.
• Stack of books on a table, phone leaning against something heavy.
• Timer set to 3 or 10 seconds so I have time to get in position.
On most phones, portrait mode helps separate you from the background. If the blur looks fake, step a bit farther away from the wall and let the phone refocus.
- If your setup sucks, AI portraits can help
There were times I had no good light, no free wall, and no patience to take 70 selfies. For those, AI portraits did the job better than anything I could shoot in my apartment.
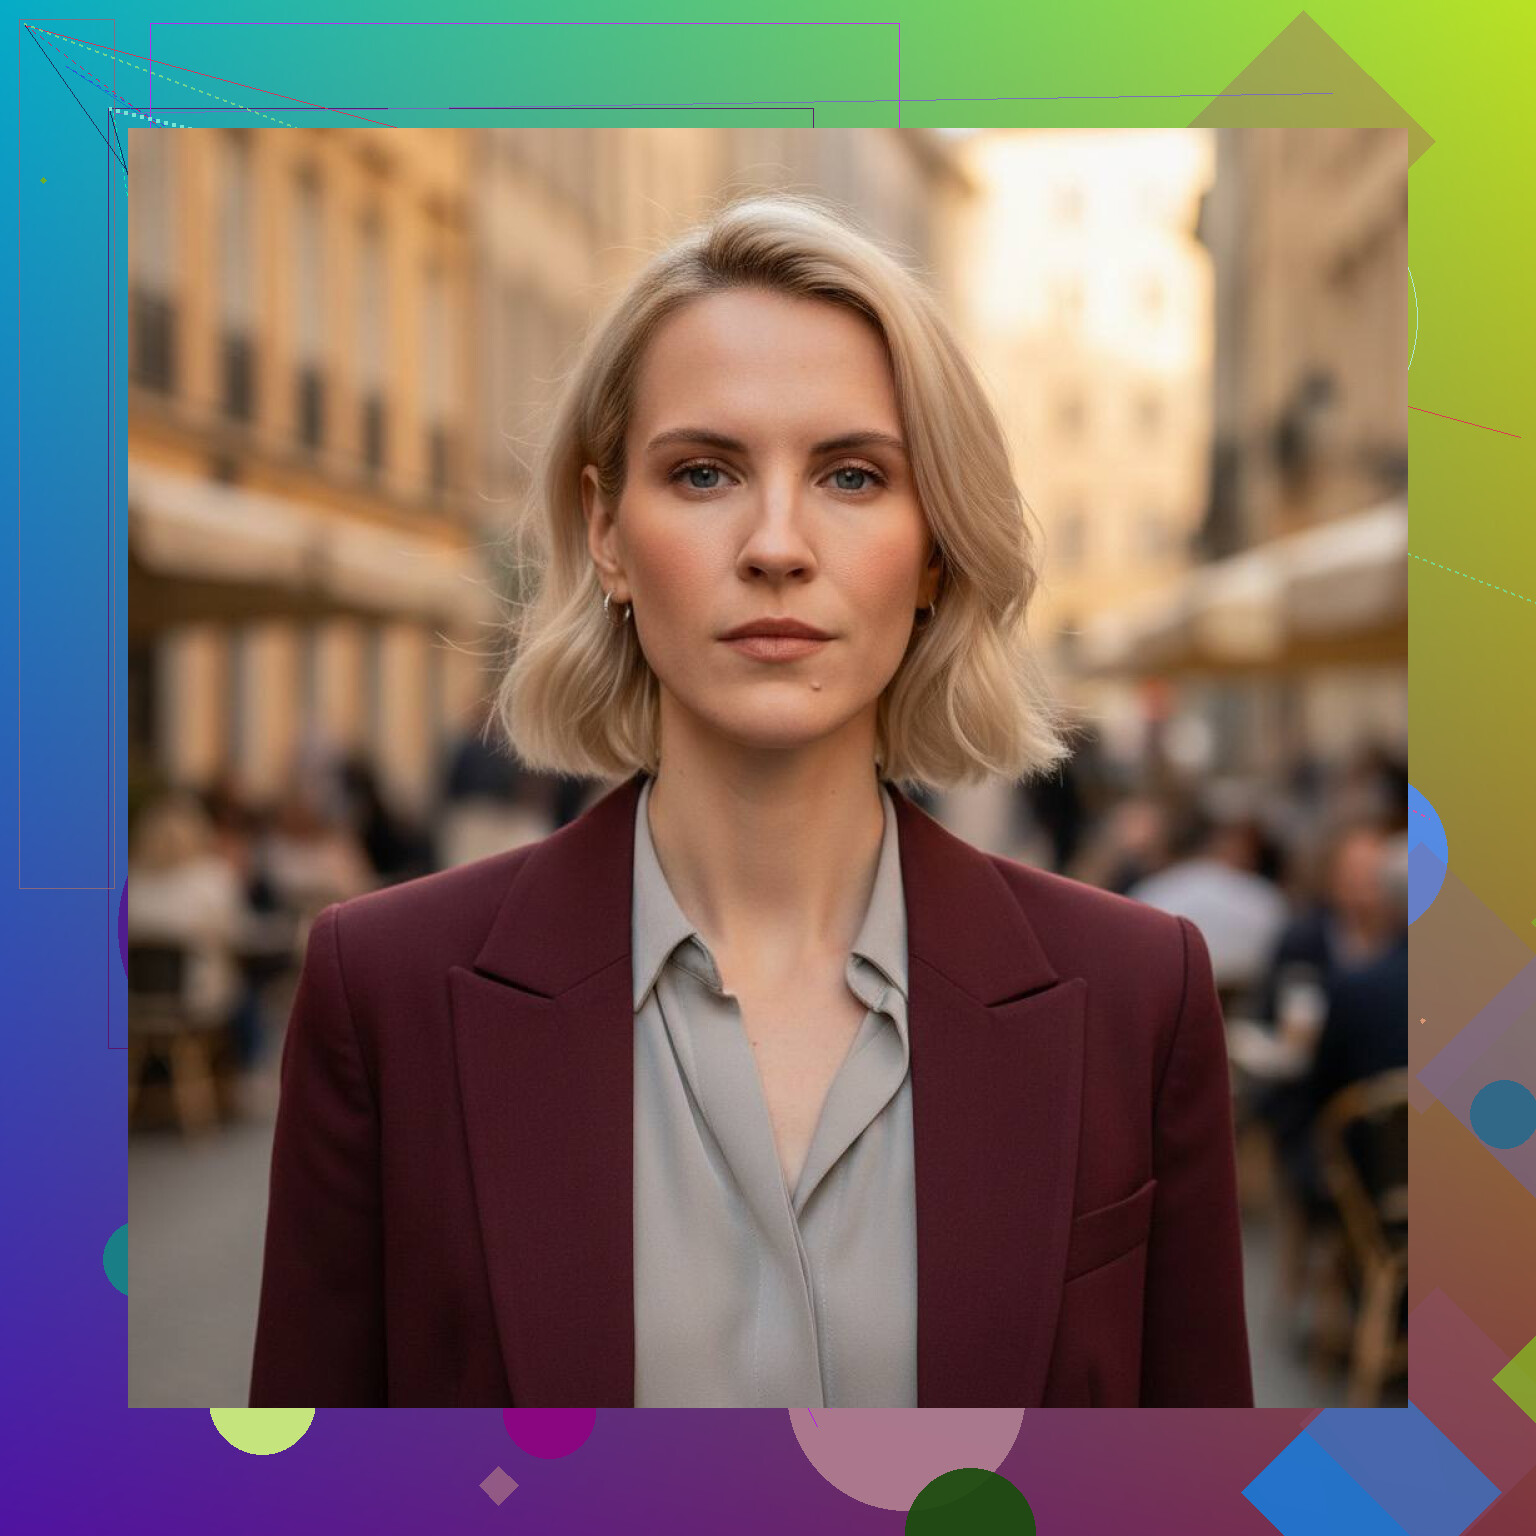
Here are a few I generated from regular photos:


One tool I tried was Eltima AI Headshot Generator:
I used it when:
• I needed something clean for LinkedIn and internal company tools.
• My room had yellow lighting and zero blank walls.
• I did not want to pull out lights, stands, and spend an hour testing stuff.
• I wanted a “formal” version and a “casual but still professional” version without booking a shoot.
The way it worked for me:
• Upload a handful of your photos. They do not need to be perfect portraits, but your face should be visible and not heavily filtered.
• Pick a style pack. I tried “professional” first, then a more casual one.
• Wait for it to generate multiple options, then download the ones that look closest to you.
- When an AI headshot tool makes sense
From my use, it helped most in these cases:
• You need portraits for LinkedIn, resumes, company profiles, or conference bios.
• Your home has poor lighting, cluttered backgrounds, or shared space.
• You do not want to learn posing, lenses, and lighting setups.
• You want multiple outfits and backgrounds without taking new photos each time.
If you are on iOS, there is also the app version here:
Quick checklist I use now
When I take my own portraits:
• Window light in front of me, not behind.
• Simple background with no clutter.
• Camera slightly above eye level.
• Shoulders down, neck slightly forward, spine straight.
• Burst of shots with small changes.
• Tripod or stable surface, timer on.
When I do not want to deal with all of that, I upload a few photos to an AI portrait generator and pick a style that fits the use case. Both approaches work, it depends on how much time and control you want.
3 Likes
You’re running into three separate problems: blur, light, and flattering angles. Gear is almost never the blocker here, I agree with @mikeappsreviewer on that, but I’d tweak some of their advice.
- Fix the blur first
Blur usually comes from two things: slow shutter and movement.
You did not say what you shoot on, so:
Phone:
• Turn off “night mode” for portraits unless it is really dark. It drags the exposure.
• Tap the face and wait half a second before pressing the shutter.
• Use burst or “live photo” and pick the sharpest frame after.
• Brace your elbows against your body. Exhale slowly while you shoot. Looks silly. Works.
Camera (DSLR or mirrorless):
• Use shutter priority (S or Tv mode). Set 1/200 for people standing, 1/400 if kids move.
• Increase ISO without fear. ISO 1600 or 3200 is fine on most modern bodies. Noise is better than blur.
• Turn on continuous autofocus (AF-C). Pick a single focus point and put it on the eye.
• Use burst mode. People’s faces change a lot between frames.
- Light that flatters faces
Window light is good, but I do not love facing it straight on like a mugshot. I prefer “loop lighting” on faces. Simple way:
• Put your subject about 45 degrees to the window, a few feet away.
• Turn their nose slightly toward the window.
• Look for a small shadow on the far side of the nose. That adds shape without being harsh.
• If the dark side is too dark, hold a white pillowcase or paper on that side of the face to bounce light.
Outside portraits:
• Avoid direct overhead sun. Use open shade, like the edge of a building or a tree.
• Have the sun behind them or to the side, then raise exposure a bit so the face is bright.
• If the sky is bright, tilt the camera slightly down so you see less sky, that reduces harsh contrast.
- Background and distance
Background is not only about clutter. Distance matters a lot for blur.
Phone:
• Step back and zoom to 2x, instead of standing close at 1x. That compresses features and isolates the subject a bit more.
• Keep some space between your subject and the background, like 6 to 10 feet if possible. Portrait mode works better then.
Camera:
• Use the longest focal length you have, like 50mm or 85mm.
• Open the aperture to something like f/2 to f/4 for a single person.
• Again, put space between person and background.
- Posing that does not look stiff
Instead of giving a lot of rules, use movement.
For most adults:
• Have them put weight on the back leg. Front knee soft. That relaxes the body.
• Turn hips about 30 degrees away from you, then turn shoulders slightly back toward you.
• Chin forward a tiny bit and down a touch. Not “down” only. Forward first, then down.
• Ask them to breathe out and close their eyes, then open eyes toward you on 3. Shoot right as they open. That kills the “photo smile” a lot of people hate.
For kids:
• Sit them on a step or curb. Give them something tiny to hold.
• Talk to them, do not pose them much. Keep shutter speed high and shoot a lot.
- Direction and expression
Your voice is part of the kit.
• Avoid “say cheese”. It pulls the mouth wide and leaves the eyes dead.
• Try prompts like “look at me like I said something weird” or “tiny smile, like you know a secret”. You get subtle shifts that look more human.
• Show them a decent shot on the back of the camera. People relax when they see they look ok.
- Simple session workflow
Next time you shoot friends or family, run this sequence:
• Find soft light first. Window or open shade.
• Put them a few feet away from a simple background.
• Step back and zoom in a bit.
• Set shutter fast and use continuous autofocus.
• Pose with a slight angle, weight on one leg, chin forward and slightly down.
• Shoot 20 to 40 frames while talking to them.
Later, look at what failed on the bad ones. Was it blur, light, or expression. Fix one thing at a time. That feedback loop helps more than chasing more gear or filters.
You’re already getting solid stuff from @mikeappsreviewer and @mike34 on light and angles, so I’ll hit different points and push back on a couple of things.
- Gear actually can matter a bit
Not in the “buy a $3k lens” sense, but:
- Clean your lens. Phone lenses get greasy and that alone makes things look soft and low contrast. Seen this way more than “bad settings.”
- Turn off heavy beauty filters / skin smoothing. They can make faces look plasticky and weird, which reads as “bad photo” even if it’s technically sharp.
- Use gridlines and composition, not just background cleanup
They talked about backgrounds being uncluttered, which is right, but where you place the person matters too. Turn on gridlines and try:
- Put their eyes on the top horizontal line, just off center.
- Leave more empty space in the direction they’re facing.
This alone makes photos feel more intentional and less like random snaps.
- For blur, stop letting the camera decide everything
On phones, I disagree slightly with the “just burst and pick later” approach. That helps, but:
- In low light, manually turn off portrait mode. It often forces a slower shutter and fake blur that falls apart.
- Step them closer to the light instead of raising ISO or using night mode. Less distance = more light on the face, which means the phone picks a faster shutter.
- Use your feet, not your zoom (most of the time)
@mike34 likes zooming in on phones, and that can work at 2x on newer models, but on many phones 2x is just digital zoom and looks worse. If your phone has a dedicated 2x/3x lens, cool. If not:
- Walk closer, stay on 1x, then crop a bit in editing. You keep more detail and sharpness that way.
- Posing shortcut that fixes 80% of “unflattering”
Instead of giving people a pile of instructions, use this 10 second drill:
- Have them stand at a slight angle to you, feet relaxed.
- Tell them: “Lean your chest slightly toward me like you’re interested in what I’m saying.”
- Then: “Chin a tiny bit forward, tiny bit down.”
If they feel super awkward, it’s usually looking right. The “lean” automatically tightens the jawline and opens the posture without you saying “stick your neck out,” which sounds awful.
- Expression: your timing is probably off
Blurry or not flattering is often just “you pressed the shutter on the wrong microsecond.”
Try this:
- Ask a quick question that needs more than a yes/no answer.
- Watch for the half second after they start to laugh or react, not the very first moment.
- Shoot in that middle phase, when the face has relaxed a bit but still has energy.
You’ll toss tons of frames but the few keepers will look way more natural.
- Use editing, but in a specific, limited way
Everyone talks shooting, hardly anyone talks basic edits, which is where “meh” portraits often turn into keepers:
- Slightly lift exposure on the face only. Many apps have a “select subject” or “face” tool.
- Drop saturation a tiny bit and increase contrast a hair.
- Sharpen just the eyes a bit, not the whole image.
Skip heavy skin smoothing. Fixing light and exposure does more to flatter someone than a blur filter.
- Do mini “tests” instead of random tinkering
Next time you shoot a friend, treat it like a 10 minute experiment:
- Shoot 5 frames with them straight to the camera, 5 at a slight angle.
- 5 with them a foot from the window, 5 at 6 feet from the window.
- 5 with portrait mode, 5 without, same spot.
Later, compare in pairs. Which actually looks better, not what the internet says should. You’ll see patterns fast and can ignore half the “rules” people throw around.
You’re not doing “everything wrong.” You’re just mixing light, distance, posing, and timing randomly. Change one thing at a time and your hit rate climbs a lot faster than buying new stuff or memorizing long posing charts.
You’re already covered on the “how to shoot” side by @mike34, @nachtdromer and @mikeappsreviewer, so I’ll hit what happens before and after the shutter, plus when something like an AI headshot generator actually makes sense.
1. Pre‑shoot habits that quietly ruin portraits
These three kill a lot of photos before you even start:
-
Shooting when people are tired or rushed
If someone just got home from work or is wrangling kids, you’ll get tense jaws and dead eyes no matter how good your lighting is. Give them 5 minutes to drink water, breathe, fix hair. -
Random clothing choices
Busy patterns, tiny stripes, or big logos pull attention away from the face and can even cause moiré on some cameras.
Simple fix: solid mid‑tone colors, no huge prints, avoid bright neon. -
Zero grooming checks
Quick mirror check for flyaway hair, shiny forehead, lipstick on teeth. One tissue, one comb, 30 seconds saves you 30 minutes of “why does this look off.”
I actually disagree a bit with the idea that you can totally “fix it in editing.” You can, but if hair and clothing are a mess, editing becomes a rescue job instead of a polish.
2. Directing people who hate being photographed
A lot of unflattering portraits come from tension, not bad light.
-
Give them a job
Have them adjust a watch, play with a coffee cup, lean on a railing, fix a jacket. A small action pulls them out of “I am posing” and into “I am doing something.” -
Micro breaks
Shoot 10–15 frames, then stop and chat for a minute. People’s shoulders drop after that first “round.” The nicest portraits often come in round two or three, not the first 5 shots. -
Don’t overshare instructions
Here I disagree slightly with all three of the others: stacking too many posing cues at once makes people stiff. Instead of “chin forward, down, weight here, shoulder there,” give one instruction at a time, shoot a few, then add one more.
3. When AI portraits and tools help instead of hurt
You mentioned not getting flattering results. Sometimes the issue is your space: ugly walls, mixed yellow and blue light, low ceilings. In those cases, an AI headshot generator like Eltima AI Headshot Generator can be a practical shortcut, especially for “formal” needs.
Pros of something like Eltima AI Headshot Generator
- You can turn a decent but flawed selfie into a clean, studio‑style headshot
- Consistent style across multiple images (good for LinkedIn, company directory, conference bios)
- You are not dependent on time of day or weather for light
- Lets you try different outfits or backgrounds virtually so you see what works before you buy or shoot
Cons
- It can smooth skin or alter features a bit too aggressively if you are not careful with style choices
- Not ideal if you want documentary or emotional portraits; it’s more “polished profile photo” than “storytelling image”
- You still need some decent source images: if the originals are crazy blurry, heavily filtered, or half‑covered, the result will reflect that
- Overreliance can mean you learn less about real lighting and posing
The sweet spot: use tools like Eltima AI Headshot Generator when you need fast, clean, professional‑looking portraits and your environment sucks, but keep practicing real portraits for friends and family so you actually improve.
4. Editing choices that separate “snapshot” from “portrait”
Everyone else touched on editing lightly; here’s a more focused, minimal approach:
-
Crop first
Before touching sliders, crop so the eyes sit on the top third line, with a bit more room on the side they are facing. You will instantly see an upgrade. -
Global tweaks
• Slight exposure lift if the face is dark
• Tiny contrast boost
• Pull highlights down a bit if the skin is shiny
• Very small vibrance increase rather than big saturation jumps -
Local tweaks on the face only
Use the “subject” or “face” mask:
• Raise exposure a hair
• Lower clarity or texture very slightly if skin detail is harsh
• Add a bit of sharpness around the eyes only
This is where I differ slightly from @nachtdromer: I think a subtle skin softening pass, used sparingly, can help in harsh light. The key word is subtle; once viewers notice it, it is too much.
5. Building your own “playbook” instead of chasing rules
Take what @mike34, @nachtdromer, and @mikeappsreviewer said, then do this on your next session:
-
Pick one thing to test:
Example: “window at 45 degrees vs straight on” or “standing vs seated” or “portrait mode vs normal.” -
Shoot a short series for each option
Same person, same time, only that one variable changed. -
Compare side by side
Ask yourself:
• Which setup makes the eyes look more alive?
• Which one flatters the jawline more?
• Which one gives you fewer blurry shots?
Write down 2–3 observations. That becomes your custom rulebook, not just internet advice. Over a few sessions, this tight little feedback loop will improve your portraits more than any single trick.
If you combine what the others have already laid out (blur control, basic light positioning, simple backgrounds) with:
- better pre‑shoot prep,
- calmer direction,
- tighter culling and editing,
and occasional smart use of an AI option like Eltima AI Headshot Generator when your space or time is limited, your hit rate on flattering portraits will climb a lot faster than you probably expect.