My hard drive started showing bad sectors after my computer froze and began making clicking noises. Some files are still accessible, but others won’t open, and I’m worried the drive could fail completely if I keep using it. I need advice on the safest way to recover data from bad sectors, whether I should make a full backup first, and which recovery steps give me the best chance of saving important files.
If you’re getting CRC errors, folders freezing, or reads hanging forever, stop using the drive now. I mean it. I ignored this once on an old 2 TB Seagate, kept retrying a folder copy, and the drive got worse by the hour. If it’s an external drive, unplug it. If it’s your boot drive, power the PC off.
What happens next is ugly. The drive firmware keeps retrying weak sectors. Windows joins in and keeps poking the same spots. More retries means more wear, more heat, more time spent scraping the same damaged area. A small read issue sometimes turns into a dead drive.
What those errors usually mean
From what I’ve seen, there are two common cases.
Soft bad sectors. The magnetic area still works, but the data in it no longer matches the error correction info. I’ve seen this after sudden power loss, forced shutdowns, and one cheap USB dock flaking out mid-transfer. These sectors are sometimes recoverable.
Hard bad sectors. This is physical damage, or the heads are starting to fail. Software does not repair this. At best, it marks damaged spots so the drive stops trying to use them.
That distinction matters because people reach for the wrong tool first.
Do not run CHKDSK first
A lot of people fire up CHKDSK right away. I wouldn’t. Its job is to make the file system consistent again. Its job is not to preserve every file.
I’ve watched CHKDSK turn a messy but readable drive into a cleaner file system with missing files. It fixed the structure. My data took the hit. If the file table or indexes are damaged, CHKDSK may toss entries it thinks are broken. Later recovery gets harder.
The safer move is to clone the drive first, sector by sector, or save a full image. One careful pass, copy what still reads, then work from the copy. Put the original aside after that.
The safer workflow
This is the order I’d use.
- Stop using the failing drive.
- Get a healthy destination drive with enough free space.
- Make a byte-for-byte image or clone.
- Disconnect the bad drive once the image is done.
- Scan the image, not the original disk.
- Recover files to a different drive, not the image source.
That last part trips people up. Don’t recover files back onto the same problem drive. Don’t write them onto the same disk image storage drive either if space is tight. Keep things separate.
Tool I had decent luck with
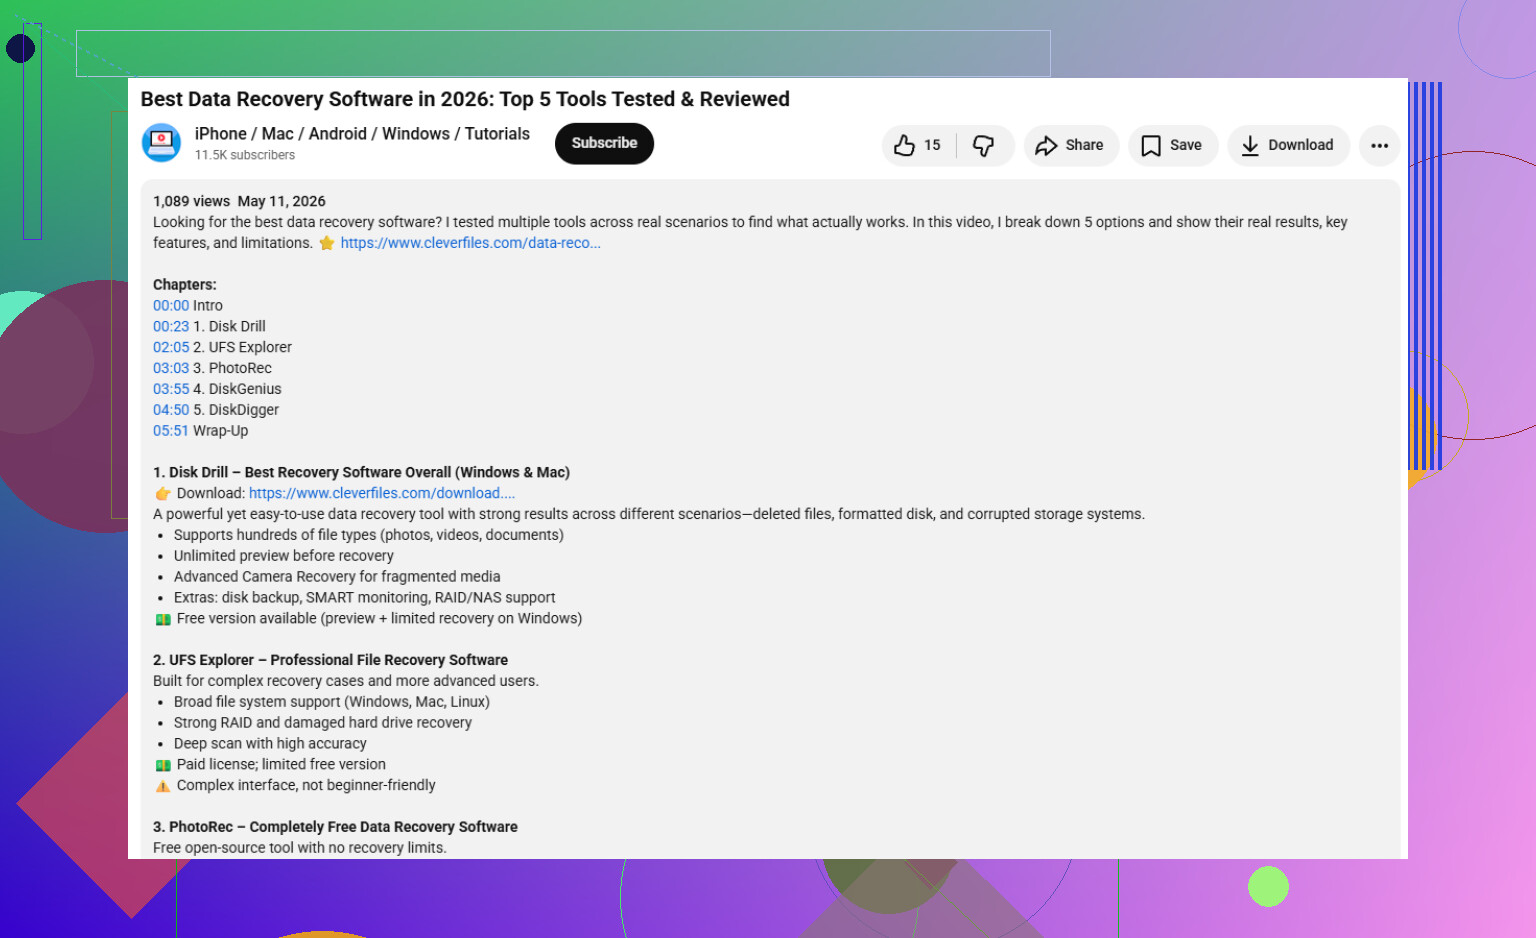
For a DIY attempt, I had better results with tools built for recovery work instead of normal file copy apps. One option is Disk Drill.
What stood out to me wasn’t photo recovery or the usual deleted-file stuff. It was how the backup side handled unstable media. On bad drives, normal apps tend to stall on one unreadable patch and sit there forever. That is the worst behavior when a drive is fading.
The newer build did a better job of skipping damaged areas first, grabbing easy reads fast, then circling back to rough spots in smaller chunks. That matters. Fewer long retries. Less stress on the mechanism. Better odds of getting a usable image before the drive taps out.
How I’d do it
Pretty plain setup.
- Connect a known-good drive with enough capacity.
- Use the recovery software to make a full image of the failing disk.
- Mount or attach the image file inside the software.
- Scan the image.
- Export recovered files to another healthy drive.
This keeps the bad disk powered for the shortest time possible. On flaky hardware, less time on is usually better.
When software is the wrong move
If the drive clicks, grinds, beeps, spins down, or never spins up, I’d stop there. Same if BIOS stops seeing it off and on. Those are not nice signs.
I made the mistake once of retrying a clicking laptop drive. It went from detected to invisible by the next morning. No software on earth fixed that.
If the files matter, send it to a lab. Gillware and Techchef are two names people bring up a lot. They do head swaps, platter stabilization, and board-level work with gear you don’t have at home. Price is rough, often around $500 to $3,000 depending on damage and drive type. Still, for irreplaceable photos, legal docs, client work, stuff like that, I’d pick the lab before gambling.
After recovery
Once your files are copied out and you’ve opened a sample of them to confirm they’re good, then you can mess with the old drive if you want.
A full format, not quick format, or chkdsk /r in PowerShell or Command Prompt will scan the disk and mark bad areas so the file system avoids them. I still wouldn’t trust a drive like this for anything important. In my expereince, CRC errors are often the start, not the end.
Use it for throwaway storage if you must. Or retire it.
What I changed after getting burned
I stopped trusting single-copy storage. The setup I use now is the 3-2-1 rule.
- 3 copies of your data
- 2 different storage types
- 1 copy off-site or in the cloud
It takes a bit to set up, sure. But it beats staring at a frozen progress bar while a dying drive makes tiny death noises from your desk.
4 Likes
Yes. Back up first, or more accurately, capture the drive first, then try recovery from the copy.
Clicking changes the math. Bad sectors alone are one thing. Bad sectors plus clicking usually points to failing heads or media damage. I agree with @mikeappsreviewer on stopping normal use. Where I differ a bit is this. If the files are important and the drive is clicking more than once in a while, I would skip most DIY work and price a lab before doing long scans. Every extra minute powered on is a risk.
My order would be:
- Stop booting from it.
- Check SMART with a read-only tool if the drive still shows up.
- Pull the most critical files first, only if they copy fast.
- If reads hang, switch to imaging software.
- Recover from the image, not the source.
Why pull a few top files first? Because if the drive dies in 20 min, you want the irreplaceable stuff out first. Family photos, tax docs, work files. Not your Steam folder. I know some people disagree, but on a noisy drive I like triage.
Do not run defrag. Do not run surface repair tools. Do not keep retrying one frozen folder for an hour. That is how peole turn a weak drive into a dead one.
If you want a DIY route, Disk Drill is fine for making an image and scanning what it gets back. Keep the destination on a different healthy drive. If Disk Drill or any other tool starts getting endless read stalls, stop. That is your sign.
Also, clicking is not a ‘bad blocks on hard drive’ type problem alone. This is closer to physical disk damage and unreadable sectors. This explainer is worth a quick read:
what bad sectors on a hard drive mean and what to do next
Short version, yes, secure a backup image first. If the clicking is frequent, skip the home experment and go to a recovery lab.
Yes, back up first, but with the clicking I’d phrase it as: do the least stressful capture you can, then stop touching the original.
I mostly agree with @mikeappsreviewer and @kakeru, but I’m a little less sold on grabbing a few priority files first if the drive is audibly clicking. Sometimes that works, sometimes the constant seeking for random folders just makes a sick HDD do more gymnastics. If it were mine, I’d go for the most sequential read possible, not browse around in Explorer like nothng’s wrong.
A few extra things:
- Check the SATA/USB cable before assuming every error is platter damage. CRC errors can come from a bad cable too. Clicking is the scary part though.
- Don’t trust SMART as a clean bill of health. Drives can sound terrible and still show “OK”.
- Avoid file-by-file copy in Windows if reads are hanging. That’s where time gets wasted.
If you want a DIY route, use something built for disk imaging and recovery, like Disk Drill, and save the image to a totally different healthy drive. Then scan the image and recover files somewhere else. That’s the safer play.
Also, if you’re comparing options, this helps with choosing the right data recovery software for your drive.
If the clicking is frequent, BIOS detection is flaky, or the drive disappears mid-read, honestly stop the home experment. That’s lab territory.