I found an old Mac drive formatted as HFS and need to recover some important files from it. My current computer doesn’t seem to read it properly, and I’m not sure which tools or adapters are safest to use without risking data loss. Looking for advice on the best way to recover files from an old HFS Mac drive.
I’d be careful not to treat this like a “fix the drive” problem. If the files are important, recover them before doing anything else. Don’t format it, don’t keep running First Aid, don’t copy anything onto it, and don’t install recovery software on the same drive you’re trying to recover from.
With HFS and HFS+, deleted files usually aren’t wiped right away. The file system mostly marks that space as free, so the data can still be recoverable until something writes over it. That can apply after accidental deletion, emptying the Trash, and sometimes even after a quick format. External drives often have better odds than internal ones because macOS isn’t constantly writing system files to them.
Before running a scan, I’d check whether the drive itself seems healthy:
- See if it shows up in Disk Utility with the correct size.
- Try a different cable, USB port, or Mac if the connection is flaky.
- Check SMART status if the enclosure passes that info through.
- If it freezes, drops offline, throws read errors, or SMART looks bad, make a disk image first and scan the image instead of hammering the physical drive.
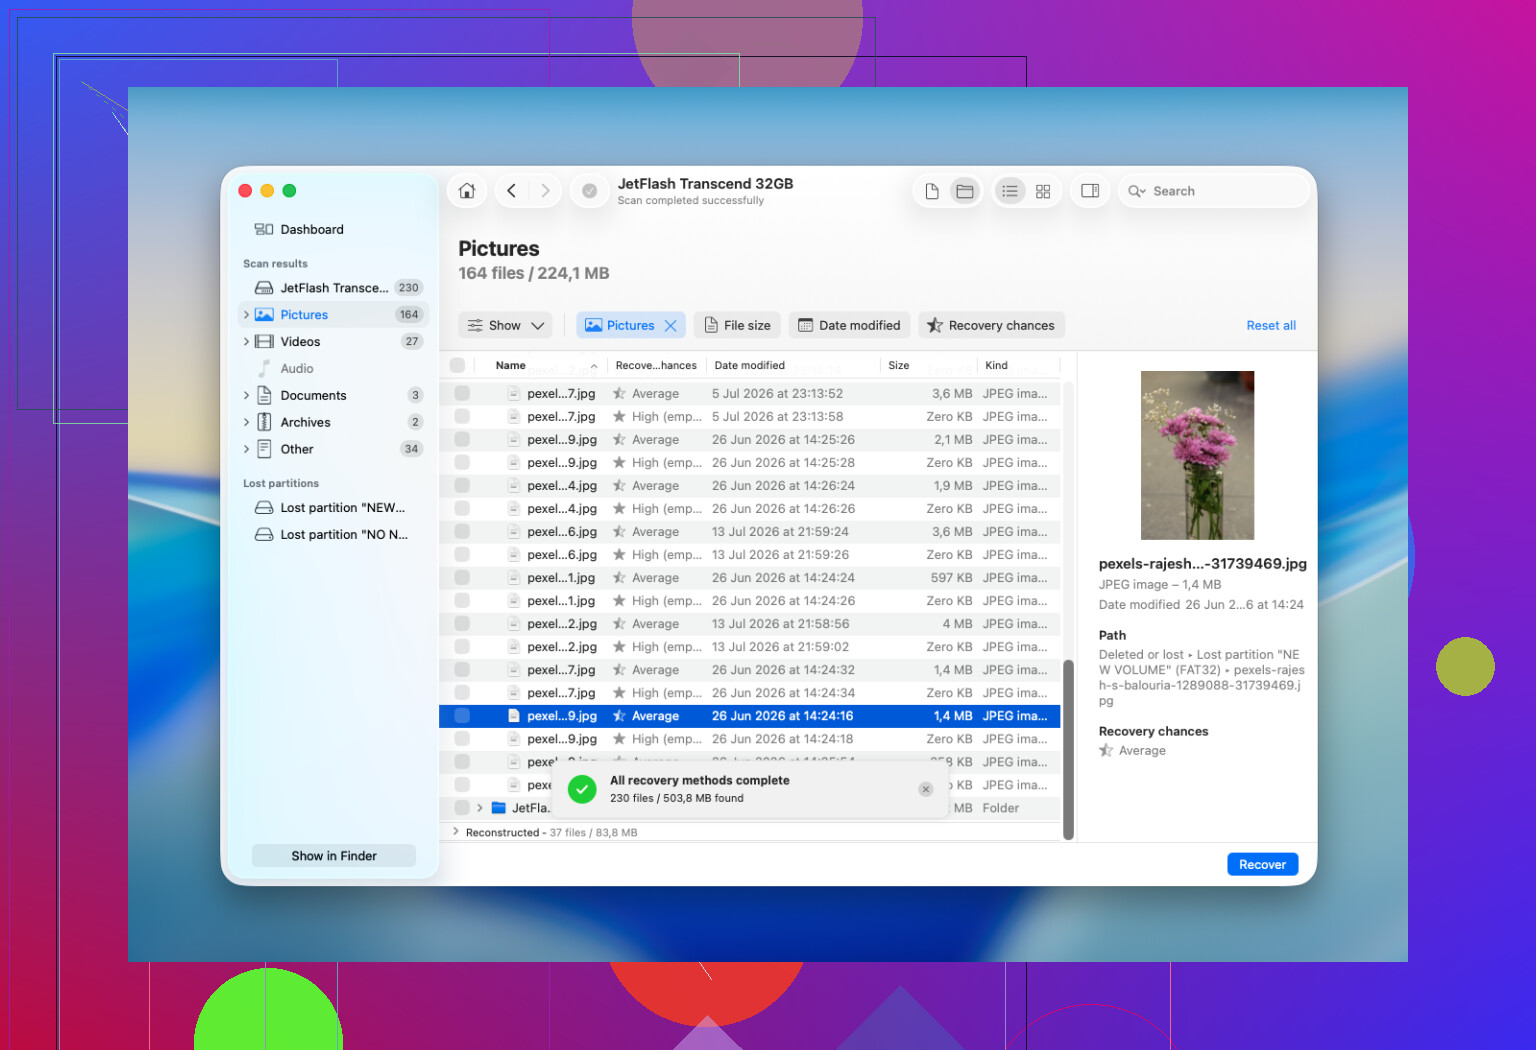
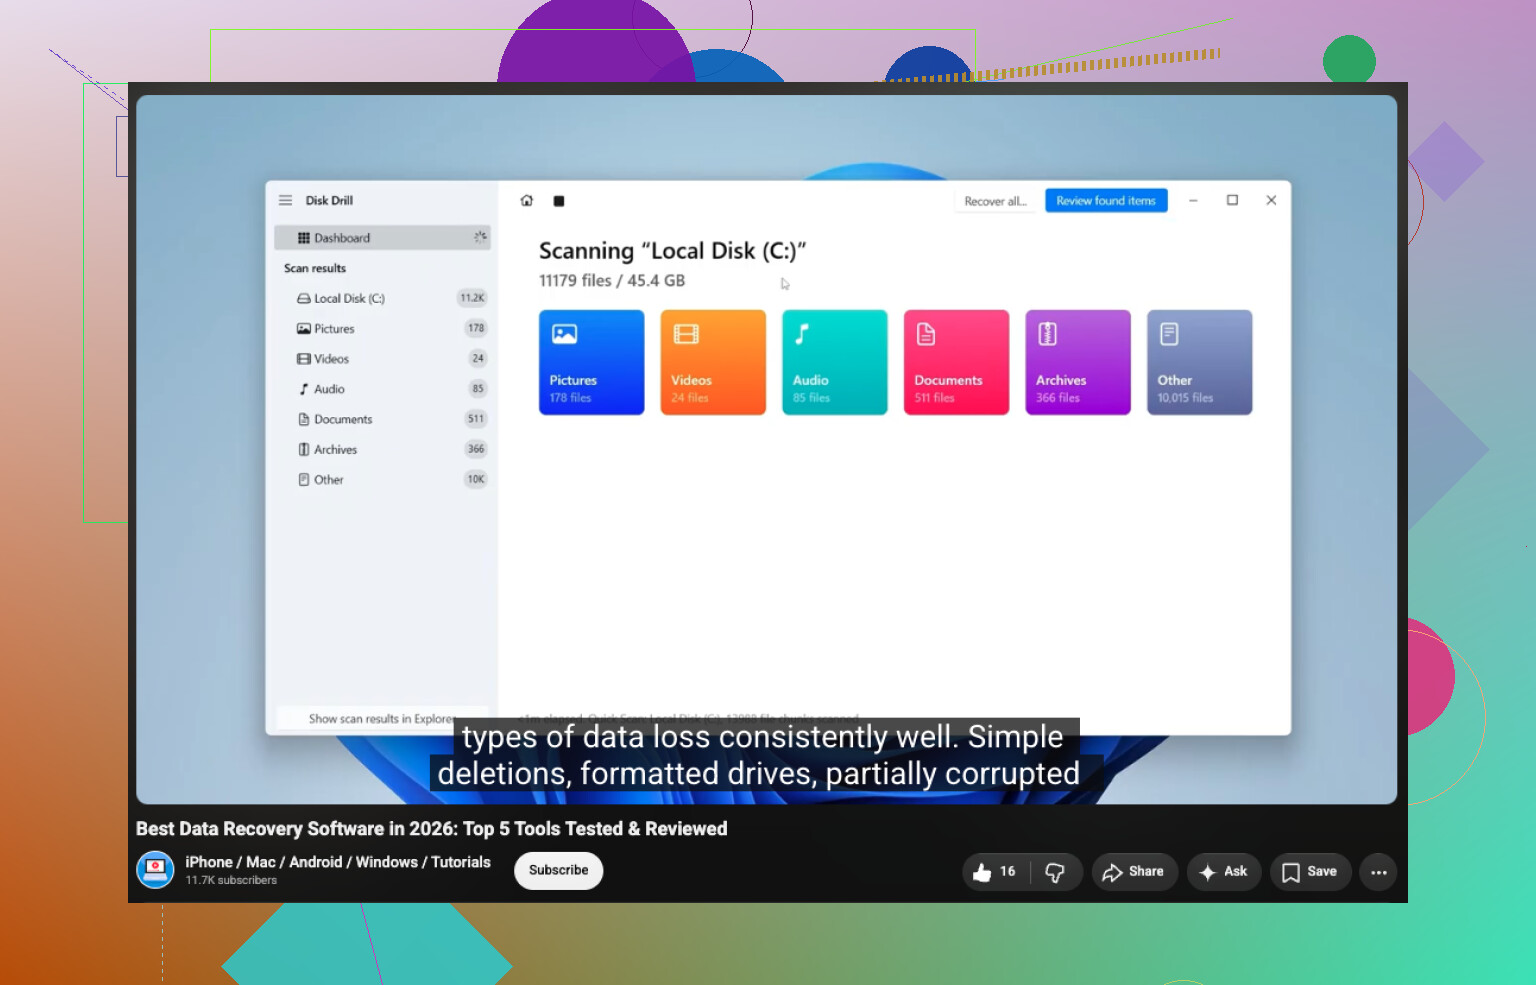
For HFS recovery, Disk Drill is usually the first tool I’d try. It supports HFS and HFS+, works with Mac internal and external drives, and can often scan a disk even if Finder won’t mount the volume, as long as the device still appears with the correct capacity. The previews and recovery-chance indicators are useful too, since you can check whether the files are actually readable before committing to recovery.
The basic workflow would be:
- Install Disk Drill on your Mac, not on the HFS drive.
- Connect the external drive.
- Pick the whole physical disk if Disk Drill gives you that option, not just the visible HFS volume.
- Click Search for Lost Data and use Universal Scan.
- Wait for the scan to finish.
- Open Review Found Items.
- Look in Deleted or Lost and Reconstructed.
- Preview the files you care about, especially photos, documents, and videos.
- Select what you want and click Recover.
- Save the recovered files to a different healthy drive.
Do not save recovered files back onto the same HFS disk. That can overwrite other files that haven’t been recovered yet.
If the drive is old and acting unstable, use Disk Drill’s disk image option before doing the normal scan:
Create the image on another drive with enough free space, then attach that image in Disk Drill and scan the copy. It won’t repair the original drive, but it reduces how much you have to keep reading from failing hardware.
Also check the simple stuff first. Look in the Trash, since macOS can keep hidden Trash folders on external drives too. If you have a Time Machine backup from before the files went missing, use that instead of recovery software. TestDisk is another option if the whole HFS partition was deleted or lost, but it’s text-based and easier to mess up. I’d think of it more as a partition recovery tool than a simple “restore my deleted folder” app.
A quick format doesn’t always kill the chances of HFS recovery. It usually replaces the file system metadata, while a lot of the old file content may still be sitting there. The big factor is how much the drive was used afterward. If recovery has to work from file signatures instead of intact HFS records, you may lose original filenames and folder structure for some files.
One Windows warning: Windows does not natively handle HFS+ properly. It may show the disk as RAW and ask to format it. Don’t do that. Cancel the prompt. Some Windows recovery tools can still scan the disk, but a Mac-based scan is more likely to keep the original folder structure intact.
I’d stop trying DIY recovery if the drive:
- clicks, grinds, buzzes, or keeps spinning up over and over
- disappears from Disk Utility
- disconnects every few seconds
- makes the Mac freeze
- scans painfully slowly because of constant read errors
- has irreplaceable data and this is the only readable copy left
Those are signs of physical failure, not just deleted files or HFS corruption. Software can’t fix damaged heads, bad electronics, firmware issues, or badly degraded media. At that point, repeated scans can make things worse, and a recovery lab is the safer route.
For a normal accidental deletion on a healthy old HFS external drive, I’d stop using it, check Trash and Time Machine, scan with Disk Drill, preview the results, and recover to another disk. If the drive is unstable, image it first. If it’s clicking, vanishing, or clearly failing, stop powering it on and consider a lab.
https://www.youtube.com/watch?v=oJ1aQPFxTag
6 Likes
Cheap USB adapters can be the hidden problem, especially with very old Mac drives, because some bridge chips report the drive oddly or drop out during long reads.
Before blaming HFS, I’d try the drive in a known-good enclosure or dock, preferably one that passes SMART, then image it and scan the image with whatever tool you choose. Disk Drill is fine for the scan, but the adapter path matters more than people think.
Expect the first win to be access, not recovery. With old Mac disks, half the battle is getting the drive connected in a way that doesn’t make the situation worse.
The missing detail here is what kind of “old Mac drive” it is. If it is a SATA drive from an Intel Mac, a decent USB dock is probably enough. If it is a 3.5-inch IDE/PATA drive, make sure the adapter has its own power supply. USB-only power is not enough for those. If it is really old SCSI, don’t buy a random adapter and start guessing. SCSI needs the right chain, termination, ID settings, and controller support. That is where people accidentally turn a recoverable drive into a weekend project.
I agree with @techchizkid that the adapter can be the weak link. A flaky bridge can make a good drive look corrupt. But I’d go a step earlier than recovery software: first confirm the physical disk is being detected with the correct size. If the machine sees a 500 GB disk as 2 TB, 0 bytes, or keeps changing its mind, stop. That is not an HFS problem.
Another thing people forget with old Mac files: don’t recover them to some random FAT32 or exFAT stick if the files came from classic Mac OS. Older Mac files can have resource forks and metadata that matter. Some old fonts, HyperCard stacks, Quark files, application files, and weird Mac OS 9-era documents may look fine after copying but lose the part that made them usable. If the files are normal JPEGs, PDFs, Word docs, etc., this matters less. If they are old Mac-specific files, recover them to another Mac-formatted disk, or at least make an image/archive first so you are not stripping metadata during the rescue.
For a drive that mounts read-only, I would do the boring copy first. Grab the most important folders before running big scans. Recovery scans are useful, but they stress the disk for a long time. If the drive gives you ten good minutes before it drops out, spend those ten minutes copying the irreplaceable stuff, not watching a progress bar.
If it does not mount but shows up correctly, then imaging is the better move. A raw image made with Disk Utility, ddrescue, or a recovery app is safer than repeatedly scanning the original disk. Disk Drill is fine for the “Finder can’t see my files but the disk is detected” situation, especially if you want previews and a normal GUI. I just wouldn’t make any app’s scan the first test on a disk that clicks, stalls, or disconnects.
For classic HFS specifically, be aware that support is spotty compared with HFS+. Some newer systems and tools are much happier with HFS+ than old “Mac OS Standard” HFS. If a modern Mac acts confused, that does not automatically mean the data is gone. Sometimes an older Mac, an older macOS install, or a Linux box with the right read-only support can see enough to copy the files. The trick is not to let any of them “repair” or “initialize” the disk.
My rough order would be:
Connect it with the right adapter and power.
Check whether the full disk size is detected.
If it mounts, copy the important files to a Mac-formatted destination first.
If it does not mount but reads steadily, image it.
Scan the image, not the original, with whatever tool you trust.
If it makes bad mechanical noises or vanishes, stop messing with it.
The worst button in this whole process is usually the helpful-looking one. “Initialize,” “repair,” “erase,” “rebuild,” “fix partition map,” and “convert” are all things I would avoid until the data is already somewhere else. Recovery is about reading first. Cleaning up the disk comes later, if you even care about keeping the disk.
HFS is not the same as HFS+, so don’t assume every “Mac recovery” tool or modern macOS version will handle it cleanly. If it’s true Mac OS Standard HFS, I’d image the disk first and then try reading the image from an older Mac/Linux setup before paying for scans in Disk Drill or anything else.